

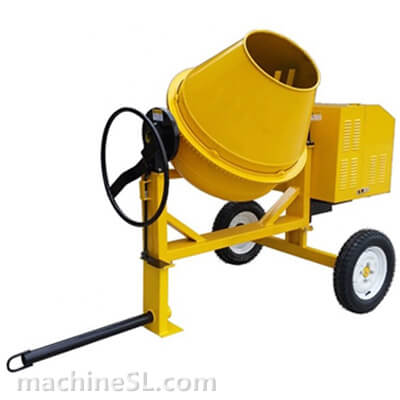
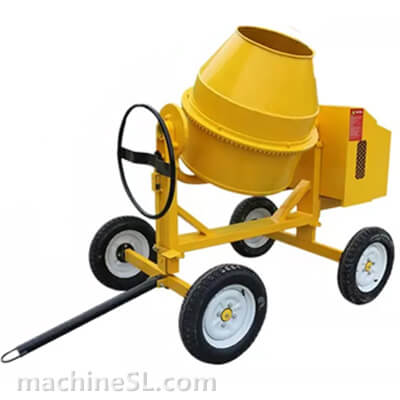
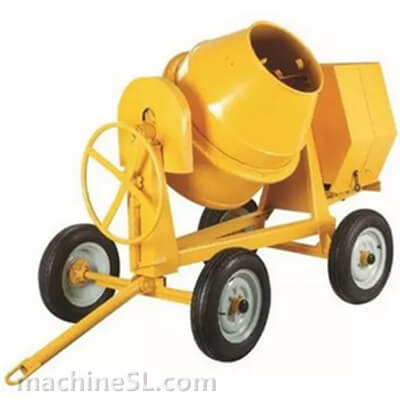
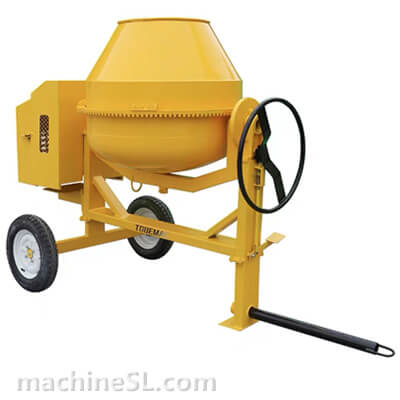
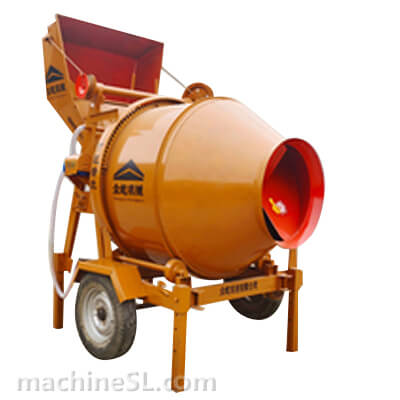
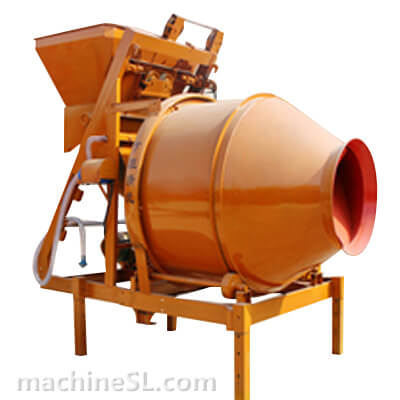
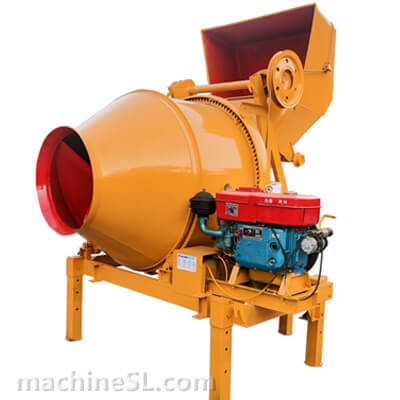
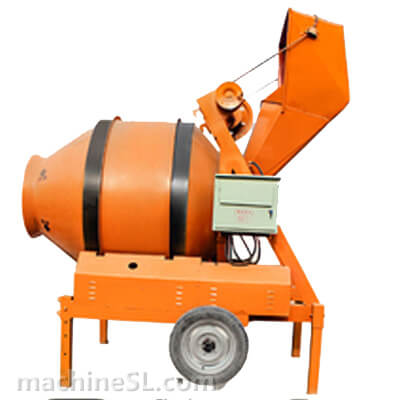
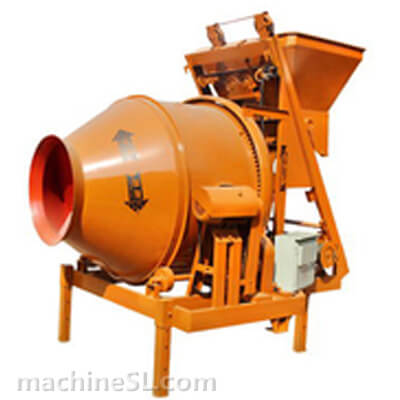
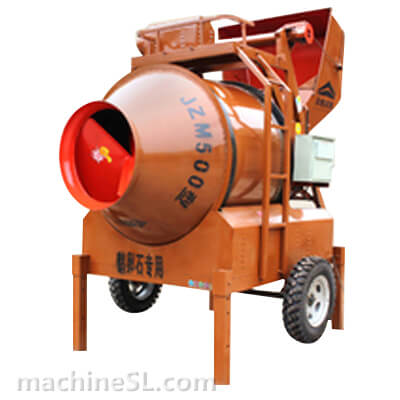
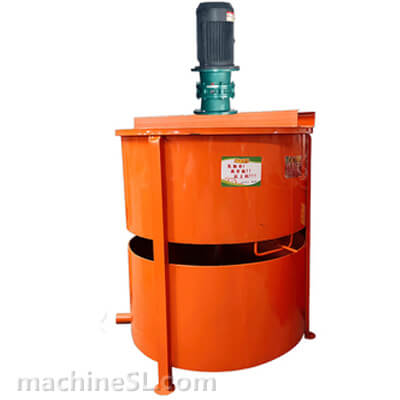
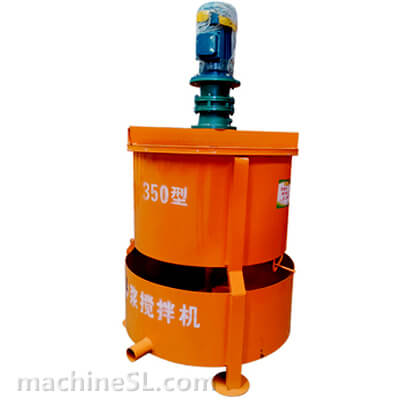
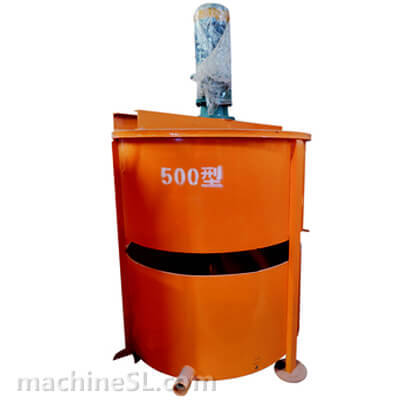
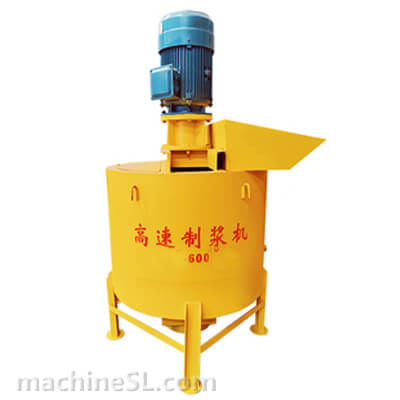
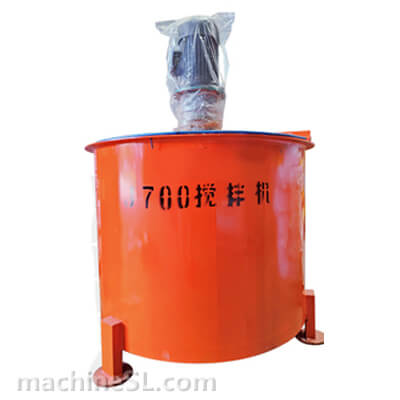
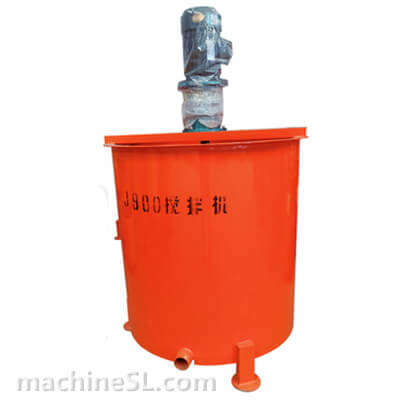
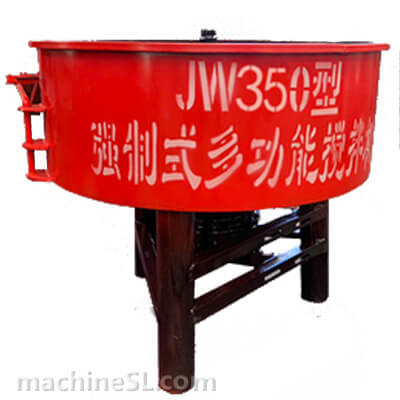
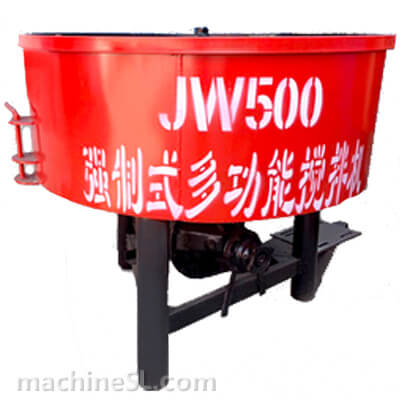
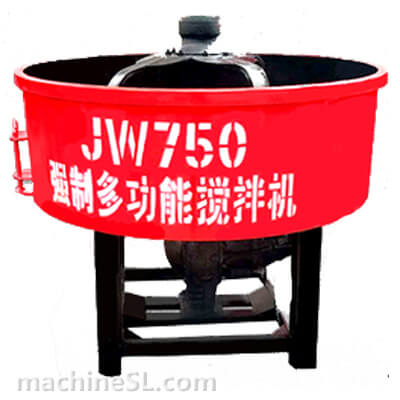
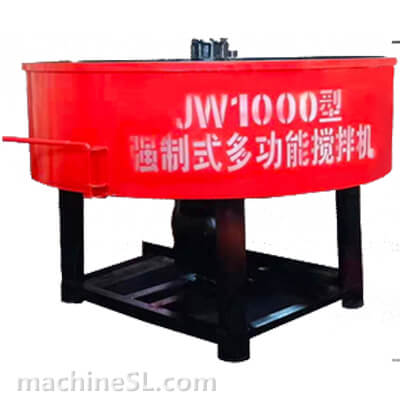
Concrete Mixer Mechanism

How To Use

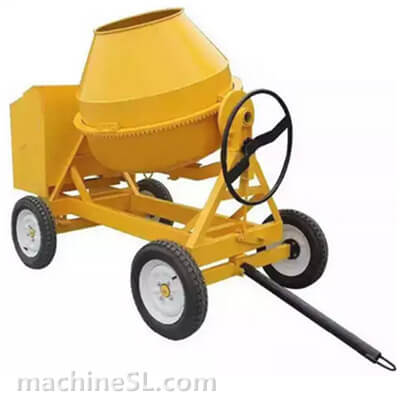
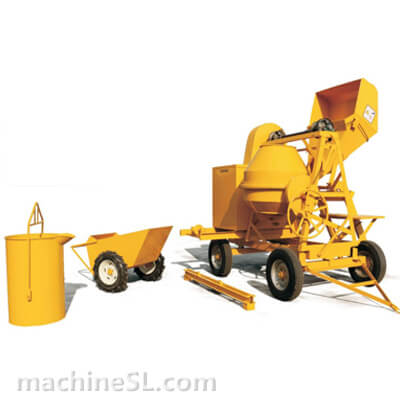


Attachment & accessories
all parts available
etc..
Operation:
Manual
etc
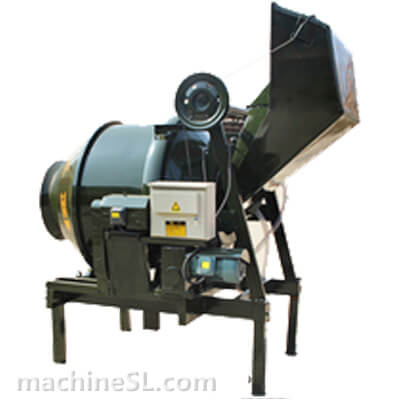
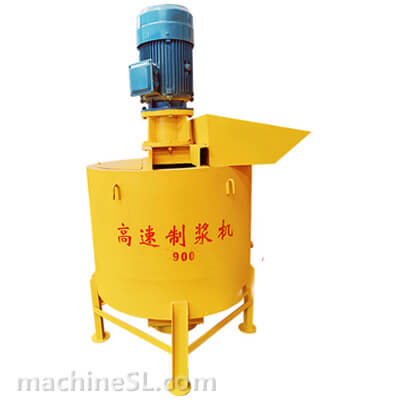
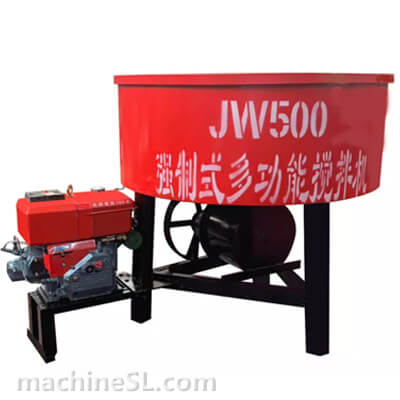
Power:
Electric
Diesel
Gasoline
Etc…
Worldwide Delivery:
Australia, Brisbane, UK, New Zealand, Jamaica, Harare, Ghana, Kenya, Kolhapur, Kuantan, Malaysia, Nairobi, Namibia, Zimbabwe, Bangalore, Canada, Florida, South Africa, Scotland, India, Singapore, Pakistan, USA, Barbados, Canada, Philippines so on…