How to Polish Concrete Floors: Step-by-Step Guide

Polished concrete floors are emerging as a fashion in buildings. Especially residential and commercial premises and manufacturing properties are getting into this trend. They are also slim, sturdy, and rather green.
Why the shift? This question is very logical in modern construction. Everybody’s looking for durable, good-looking surfaces that never need replacement. Concrete checks all those boxes.
Compared to most of the conventional flooring materials, polished concrete significantly competes. It does not have grout lines or cracking as compared to tiles. Against epoxy, it resists peeling. Compared to hardwood, it will not warp and scratch so easily.
This article will show you how to polish concrete floors in a step-by-step manner.


Contents
What Is Polished Concrete

Polished concrete refers to concrete that is mechanically ground, honed, and polished. It comes with a smooth finish. Unlike epoxy or coatings, it’s not something applied on top. The shine comes from the concrete itself.
There are two main systems. Mechanical polishing employs polishing and grinding in the finishing process. Grind-and-seal is similar to a run to polish the appearance with less wear and tear.
You can choose different finish levels. A matte finish provides a low-key look. Satin puts on a silky sheen. High gloss to mirror effect.
Polished concrete is effective in most places. Garages, warehouses, and retail stores use it because it is tough. Offices and clean, modern, similar kitchens. Exterior patios, concrete can be polished, along with the anti-slip materials.
Tools, Equipment, and Materials You’ll Need
Polishing of concrete floors is not similar to cleaning or sealing them. It requires heavy-duty equipment. These machines and materials determine how easy your floor will be to walk around on. The flawlessness of your floor’s appearance also depends on the polish.
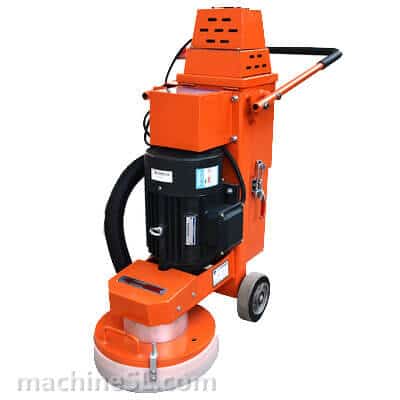
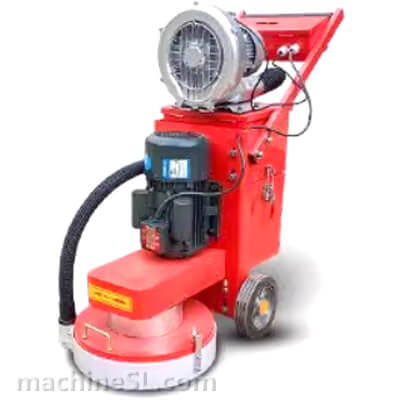
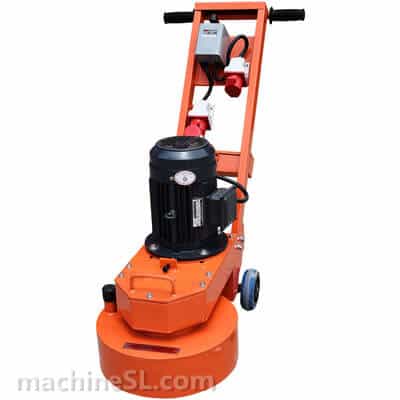
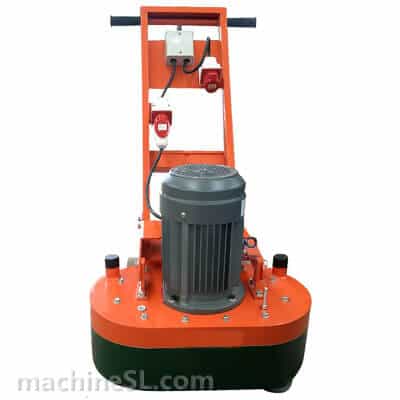
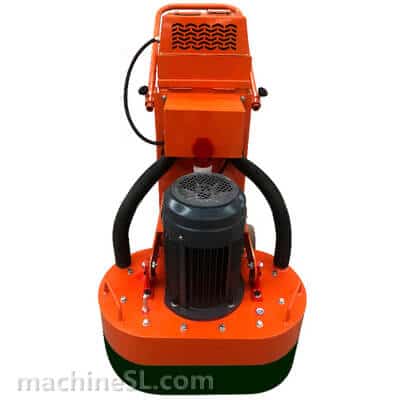
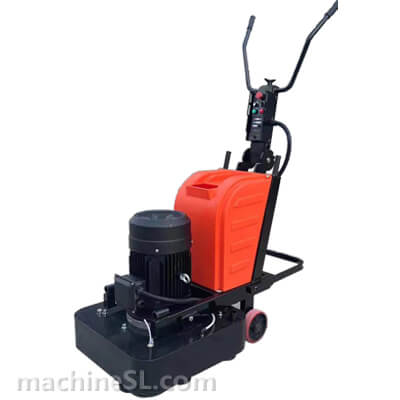
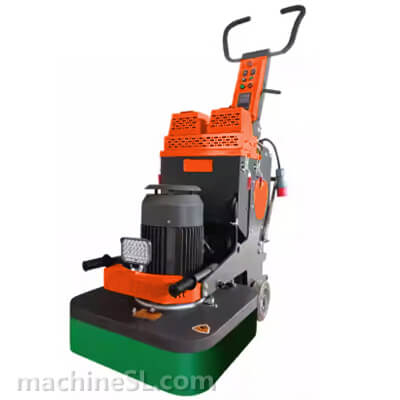
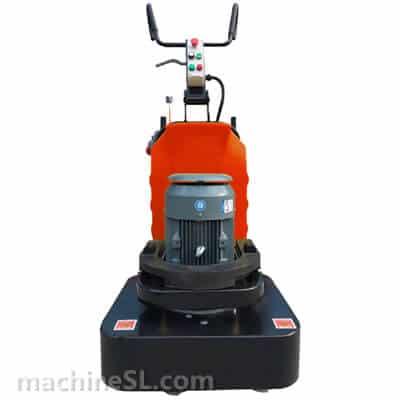
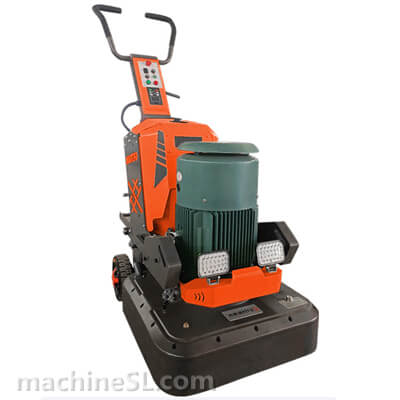
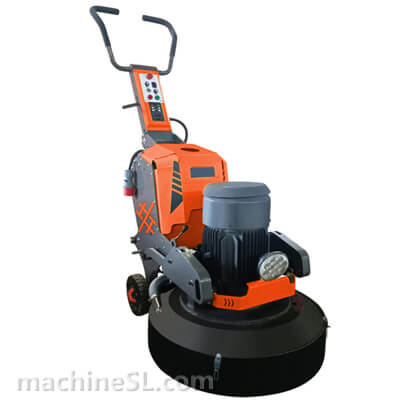
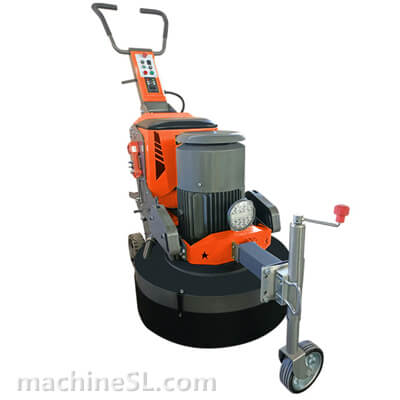
Main Machines

Polishing concrete floors includes numerous tools and equipment. Here is a detailed list:
- Grinders
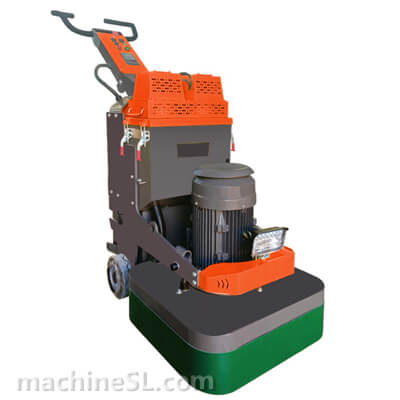
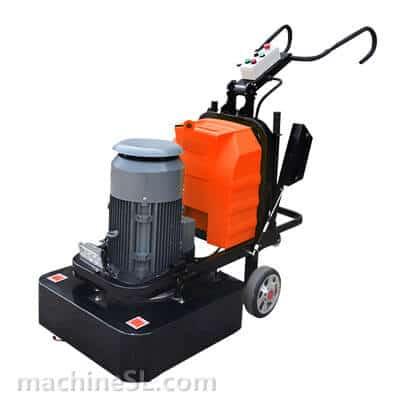
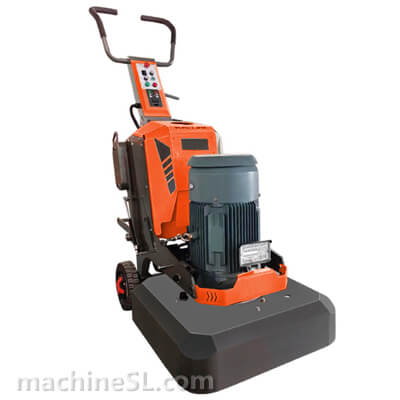
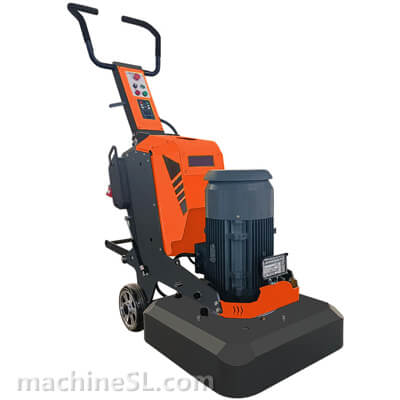
The most significant one is the concrete grinder. These will be of two types:
- The diamond grinders—the diamond grinder is tough and cuts rapidly.
- Planetary grinders—Planetary grinders have various heads spinning counter to each other. This renders an even polish.
To get the finishing shine, you should have a burnisher. Burnishers are high-speed running machines. After polishing pads and sealants are applied, they produce a deep gloss.
In certain garages, contractors employ push grinders or hand grinders. These work in corners, edges, and close places where a big machine cannot reach.
Pads and Tooling

The shine is what the grinding pads are made of. Both pads are diamond-bonded. They are available in various grits.
- Metal Bond Pads: The initial set of stages is metal-bond pads. They are abrasive and take off coating, pits, and uneven marks.
- Hybrid Pads: Hybrid pads are an alloy developed from copper or metal and resin. They ease the move to a finish.
- Resin-Bond Pads: Resin-bond pads are used to do polishing. They polish the top and deliver the shine.
- Satellite Pads: Satellite pads are minute and elastic. They may be used to good advantage on edges or curved surfaces.
The important sequence is grit. Coarse 30-40 grit will round up the surface. Medium grits (80-150) smooth it down. It is then honed with fine grits 400-800. High grits (1,500-3,000) add the gloss. Running the grits gives marks.
Chemicals

The grinding and sealing process is supported by the use of chemicals. The most frequently occurring are
- Densifiers—They harden the slab. This makes it dustproof, impact-proof, and impervious to wear. Using lithium densifiers, the most preferred, is obtained through the process of dilution.
- Sealants—guard against stains, oil, and water. Sealants may be either water-based or solvent-based.
Pre-Polishing Preparation

Good preparation makes or breaks the job. These are some valuable pointers to prepare your concrete surface to be polished.
- Stripping all old adhesives, paints or sealers to the surface is the first step. These can clog your grinder.
- Next, clean the slab. Oils, dust, or residues can prevent a uniform polish.
- Check for cracks, spalled areas, or open joints. Fill them with epoxy or polyurea. Smooth repairs before grinding.
- If the slab is uneven, you may need self-leveling compounds. A flat surface polishes better.
- In basements or humid regions, perform a moisture test. Excess moisture can cause densifier failure or sealer issues.
The Concrete Polishing Process (Step-by-Step)
")
Polishing concrete is a several-step deal. It must be dealt with carefully at each stage. The following are the steps to obtain a finish polished concrete.
Step 1: Initial Grinding
Start with coarse 30 or 40 grit metal diamonds. This opens the surface and removes blemishes. Progress to medium grits (80–150).
It is advisable not to ignore edges and corners. Use handheld grinders to make the look uniform with handheld grinders.
Step 2: Repair & Surface Prep
After grinding, check again for cracks. You can put filler material in the cracks to level the surface.
Fill with epoxy or polyurea filler. Hone the surface with 200–400 grit diamonds.
Step 3: Apply Densifier
Densifiers fill the pores with crystals and make the slab hard. This minimizes dusting and increases durability.
Add to a sprayer or mop and spread out. Let it soak in. Follow coverage instructions carefully. Curing time varies by product.
Densifiers come in types:
- Sodium (low-cost, slower reaction).
- Potassium (mid-range, durable).
- Lithium (most popular, fast, efficient).
Step 4: Polishing Stages
Replace and use resin-bond diamonds. Then you just start with 800, then use 1,500 and up through to 3,000. Each stage increases gloss.
Wet polishing keeps dust down but needs cleanup. Dry polishing gives higher clarity but needs powerful vacuums.
Gloss levels vary:
- Matte (low reflection).
- Semi-gloss (soft shine).
- Full gloss (mirror-like).
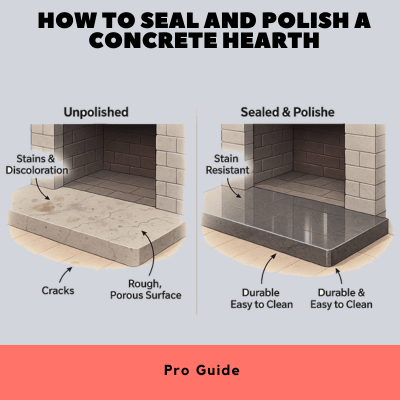
Step 5: Protect & Seal
Sealants are used against discoloration and abrasion. Sealers that use water are environmentally friendly. Deep penetration is provided by solvent-based varieties.
To be on the safer side, use polish guards or stain repellents. By machine burnishing at high speeds, the gloss and toughness are increased.
Advanced Options & Customization

Finished concrete need not be grey. You can put acid stains in or water-based dyes to color. It is possible to add decorative effects such as saw cuts, stencilling, or aggregate exposure. These make the floor an individual.
The type of overall exposure, cream, salt and pepper, or full aggregate, alters the result. Slip resistance comes to the fore in the context of safety.
One can use special sealers and additives for increased traction. Moreover, a UV-resistant finishing material can boost the outdoor polish application.
Maintenance & Long-Term Care

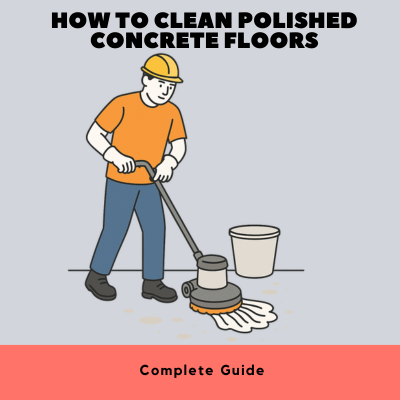
Maintenance of polished concrete is not a hard task. However, polished concrete floors require low maintenance. Daily cleaning assists in cleaning. For long-term care and good maintenance, you have the tips below:
- Apply dust mops, auto scrubbers, and neutral cleansers.
- Do not apply acid- or ammonia-based cleaning agents—this makes it lose the shine.
- Make shiny again by reburning or resealing at two- or three-year intervals.
- Lift or clean up all dull spots, scratches, and stains through spot-polishing
Safety Guidelines

Concrete floors are tough to polish. You must follow the safety guidelines. It will protect you from any incident during concrete floor polishing.
Always wear proper PPE. It includes a respirator, hearing protection, eye protection, as well as gloves.
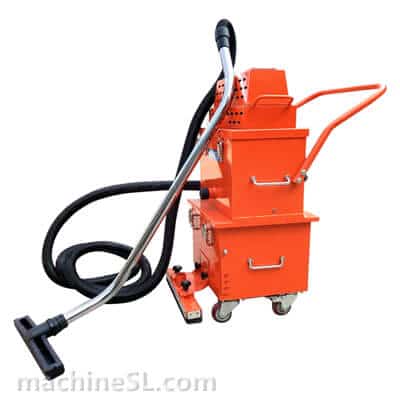
Dust of silica is hazardous. You must use a vacuum that comes with HEPA filters. It can protect you against silica in dust during polishing.
However, airborne dust can also be reduced by wet grinding.
DIY vs. Professional Polishing

The polishing should be possible on a DIY basis. But it is a big job for DIY practices. However, leasing the equipment is expensive, and the learning is intensive.
DIY is suitable in small garages or in the basement. In such areas, the finish does not need to be of high gloss.
Floors in large commercial buildings or other high-shine rooms should be left to the experts.
Professionals have experience and good machines. Moreover, they perform quickly. Acquiring professional services may cost you more, but it is worth it.
FAQs
How long does concrete polishing take?
A small garage may take 2–3 days. Large jobs can take a week or more.
Can old concrete be polished?
Yes, if it’s structurally sound. Repairs may be needed first.
What’s the cost per square foot?
DIY can cost $2–$5 per square foot. Contractors may charge $3–$12, depending on the finish.
Do polished floors need waxing?
No. The shine comes from mechanical polishing, not wax.
Can I polish outdoor concrete?
Yes, you can polish outdoor concrete by using UV-resistant sealers and anti-slip finishes. floor.
Conclusion
Polish application enhances the appearance of concrete. It also makes them more durable, eye-catching, and good-looking. No doubt, after applying polish, it gets greener. It is time-consuming but worthwhile, as a floor is durable for up to decades.
The grinding and all the other stages are important. It is a smart investment even if you are doing it yourself in a garage. If you are bringing in a professional to upgrade a showroom, count that as a plus. But in the long term, polished concrete is an economically wise choice.
Extra: Comparison Table
Here is a comparison table for different grit ranges and their best use as well as the required maintenance.
| Finish Type | Grit Range | Appearance | Best For | Maintenance |
| Matte | 400–800 | Low sheen | Garages, basements | Easy |
| Semi-Gloss | 800–1500 | Satin | Retail, offices | Moderate |
| High Gloss | 1500–3000 | Mirror-like | Showrooms, luxury | Higher |


Leave A Comment