How To Compact Pavers Without Plate Compactor

Pavers are either stones, bricks, concrete or brick-like material laid down as an exterior flooring. Pavers are pre-manufactured materials which have a wide variety of shapes, sizes & colors. These materials are ready for installation on your lot.
Pavers have been the go-to choice of homeowners not just because of the visually appealing look it gives on their driveway, pave way, patios and decks but also because pavers are more durable and long-lasting compared to concrete-poured flooring.
Pavers also are low-maintenance since cracks will not likely to happen in comparison with the concrete-poured flooring. If unfortunately your pavers have cracked, you can just take the cracked paver and replace is with a new one, which is does not take long to resolve, less hassle!
Now, the most common problem pavers’ is weeds growing between joints. This is due to the moisture it accumulated due to the improper compaction where pores are being created and with the seeds being blown or fallen pollens, weeds do grow.
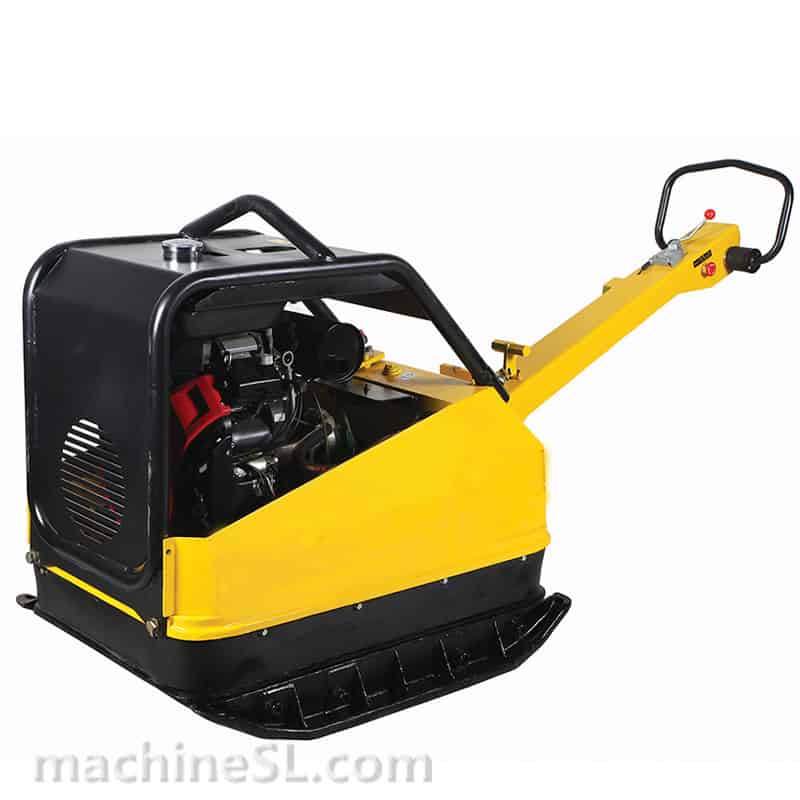
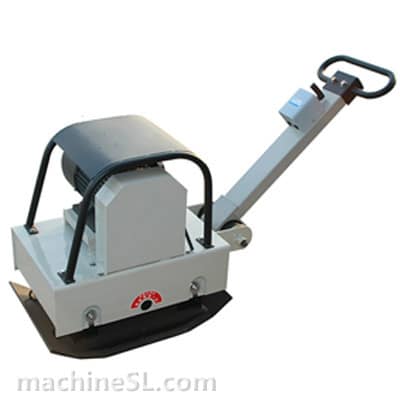
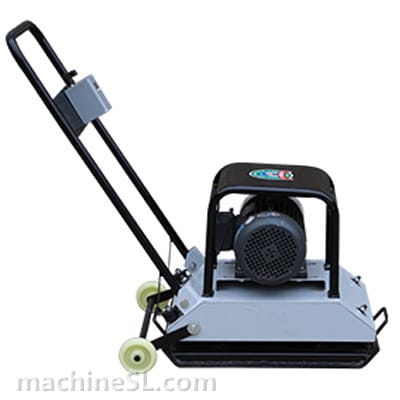
The question is now raised, without any plate compactors, how do I compact my pavers manually?


Contents
Subfloor Preparation
Layout

After deciding with how big your area is, mark your lot depending on your layout using strings and batter boards. Check the squareness of your lot, one tip of doing so is checking whether the diagonal measurements are equal. If not, due the necessary adjustment by sliding the strings.
Excavation

Remove first the grass, turf or dirt. Following the layout, start digging out the soil. By doing so make sure that you are excavating the right depth of the substrate and also take into consideration the thickness of the pavers.
You must know that the soil underneath can settle by itself when added by the weight subfloor and pavers. Make sure that the depth is just enough for it to level with your finish floor.
Compaction

Tamp your substrate to make sure that no air pockets are left. You can try to add small amount of water as you tamp your substrate causing these air pockets to settle due to the water penetration. Now wait for it to dry.
Creating Your Foundation
Add Your Substrate Material

This varies your preparation and your area but most substrate foundation should consist of crushed stones and gravels. It is advisable to use fine size stone like 2”. You can continue doing so until you achieve your gravel base thickness.
Compact Your Gravel Base

One great tip in making your compaction easier is to always wet it. This will help moisten up the pores leaving no space for air pockets. Tamp as much as you need until you feel that it is stable enough.
Sand Bedding

Once dried, you can now add your sand. Your pavers will be placed on top of it so make sure it is also well compacted. Apply your sand evenly, you must make sure that the sand are evenly distributed so the pavers will be leveled.
Paver Installation & Compaction
Apply Soil Stabilizer
Without the powerful tool, it will be hard to make sure that the pavers will be leveled and well-compacted. Adding a soil stabilizer will help improving the stability and strength so that the pavers will be leveled evenly. Soil stabilizer is made up of pulverized materials combines with appropriate additives. Wait for a couple of hours until it achieved the consistent stabilized surface.
Laying Of Pavers

After making sure that your subfloor is stable, now place your pavers on top of it. Use a rubber mallet and tart working on the outer perimeter of your area moving your way to the center. As you lay your pavers, start tamping from the edges and gradually towards the middle. Avoid puddle as they may sink over time.
Don’t forget to provide a small gap between the pavers. This is to ensure that the pavers have a space during the expansion and shrinkage as it is exposed to different weather condition. If small gaps are not provided, there is a big tendency that your pavers will pop-up over time.
Check the levelness during the course of installation using a straightedge. Adjust the necessary levelness of the pavers making sure that the blocks doesn’t produce any lip page or are not interlocked well with its sublayer. Continue doing so until you reached and finished the center piece.
Fill The Gaps

Once all the pavers are set on their designed location, add a polymer sand on the gaps between the pavers. Polymer sand will help seal the gaps and keep the weeds growing. Spread evenly a layer of polymer sand on the entire area. Use a soft bristle broom and fill the gaps to their full depth. Do it until the joints are uniformly filled.
Cleaning

Sweep or blow off the excess sand. Make sure that there are no remaining polymer sand on top of your pavers as they may leave white spots or haze upon the curing of the materials. Once you are done cleaning the surface, water your pavers. Watering the surface helps with the long term strength and interlocking of the polymer sand before being exposed to different weather condition. Allow it to cure for 24 to 48 hours before planning to add necessary furniture.
Now that you’re done with installing your pavers, you can now proceed with your finishing touches. It may be adding an outdoor furniture or adding your plants along creating your own garden. Maintain the cleanliness of the area by having a routine maintenance of sweeping and rinsing of the area.
Conclusion
Have you been dreaming of your own pavers but is afraid that it might turn out to become a disaster because you don’t have the necessary power tools? No need to worry because by following these steps you will achieve your desired pavers. It might take longer than usual but the satisfaction of having it done by yourself and achieving your dream pavers will take all those worries away.
Now what are you waiting for? Start choosing your paver color and style and begin creating your dream paver! If you need assistance, you can go ahead talk with an expert and discuss your budget and your design needs.
Leave A Comment