DIY Roller Compactor: Homemade Powerful Tool [7 Steps]
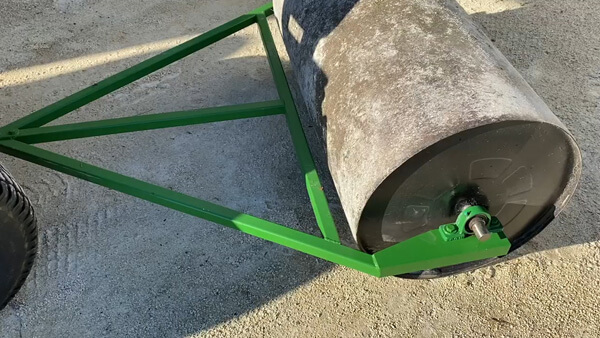
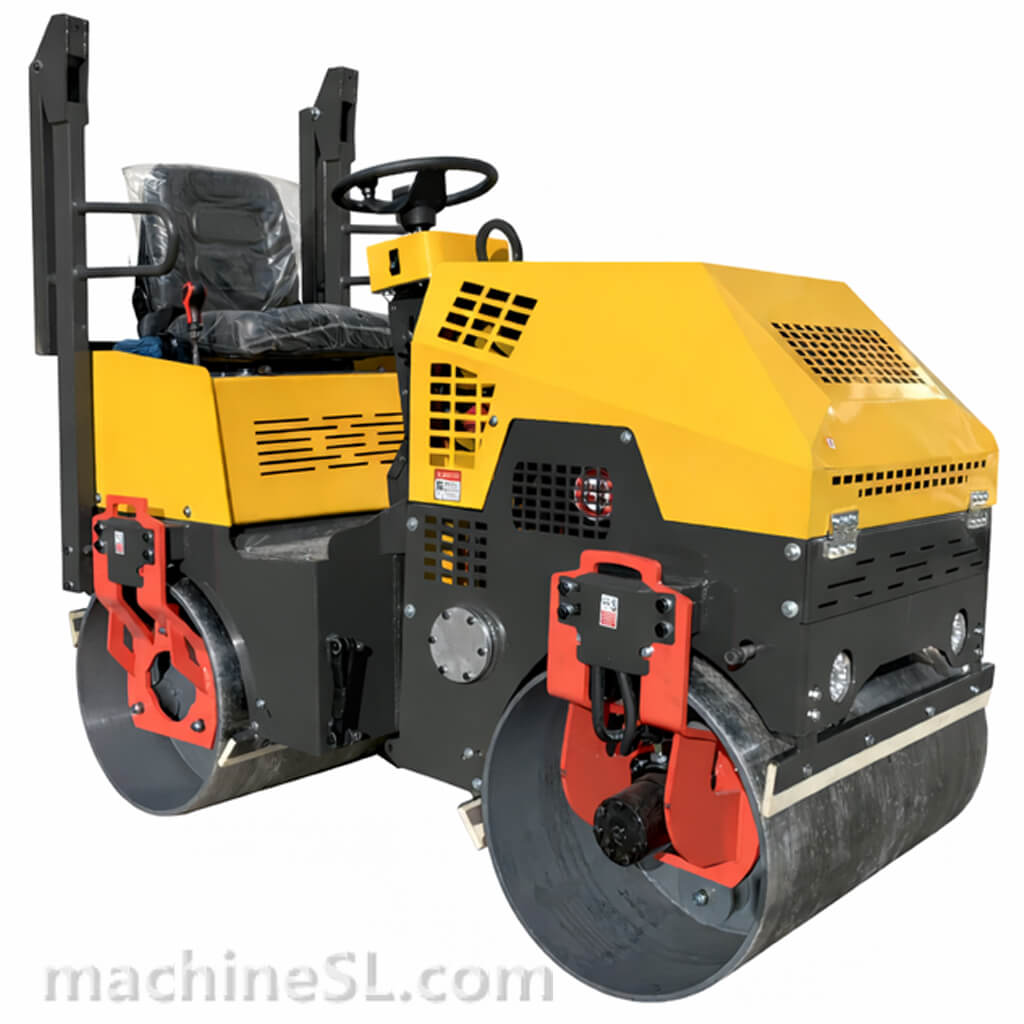
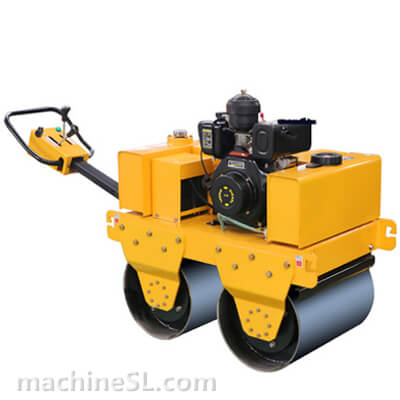
Compaction is one of the critical procedures in construction. It applies to both road construction, buildings, and landscaping. For efficiency, compaction is done by mechanized tools and equipment; these are known as compactors. There are various types of compactors, the classification depends on how they are operated. A roller compactor comprises of a weighted drum attached to a frame by bearings. The frame is pulled or pushed rolling the drum over material under compaction.
Importance and application
Roller compactors play a critical role in ensuring efficient and fast compaction. With a roller compactor, a bigger area can be compacted and higher material densities achieved within a short time. Roller compactors, also known as rollers are applied in the compaction of sub base and base layers in road construction. They are also used to compact the asphalt in road surfacing for durability and strength to sustain traffic loads.
In building construction, roller compactors are used to stabilize the soil for foundation construction. They can also be used to compact landfills in waste management projects.


Contents
Materials and Tools Required
A. List of materials needed
- Steel Drum- The main component of the roller compactor is a steel drum. You can either purchase a steel drum or repurpose an existing one. The size and weight of the drum can vary based on your requirements.
- Frame or Handle- You will need a sturdy frame or handle to attach to the steel drum for maneuvering and operating the roller compactor. This can be made using metal or strong wooden beams.
- Axle and Bearings- The drum should be mounted on an axle supported by bearings. The axle allows the drum to rotate freely. You can use a metal rod or pipe as the axle and purchase suitable bearings from a hardware store.
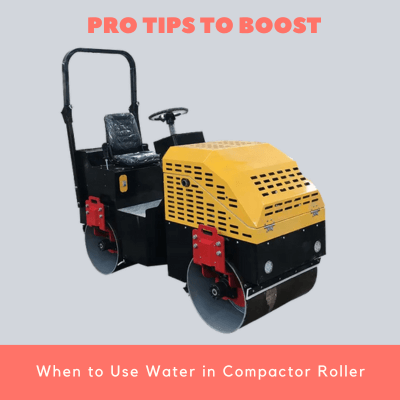
- Weighting Material- To provide the necessary weight for effective compaction, you will need a material to fill the drum. Water is commonly used as a weighting material because it is readily available and can be easily drained when needed. Alternatively, you can use sand, concrete, or other dense materials.
- Brackets and Bolts- Brackets and bolts will be required to attach the drum, axle, and frame together securely. Choose strong and durable brackets that can withstand the weight and forces involved in the compaction process.
- Wheels (optional)- If you want to add mobility to your DIY roller compactor, you can attach wheels to the frame. This allows for easier transportation and maneuverability on the worksite.
B. List of tools required
- Welding Equipment- If you are using a steel drum and need to attach brackets or create a frame, you will require welding equipment, including a welder, welding rods, welding mask, gloves, and appropriate safety equipment.
- Cutting Tools- Depending on the materials you are working with, you may need tools such as an angle grinder, reciprocating saw, or hacksaw to cut and shape the steel drum, frame, or other components.
- Drill- A drill will be necessary to create holes for attaching brackets, handles, and other hardware. You will also need drill bits suitable for the materials you are working with.
- Wrenches and Socket Set- These tools are required for tightening bolts, nuts, and other fasteners during the assembly process.
- Measuring Tools- Accurate measurements are crucial for constructing a properly balanced and functional roller compactor. Have measuring tools such as a tape measure, ruler, or combination square on hand.
- Level- A level will help ensure that your roller compactor is constructed in a balanced and level manner. This is important for achieving effective compaction.
- Clamps- Clamps can be useful for holding components together during welding or assembly. They provide stability and help ensure accurate alignment.
- Hammer and Mallet- These tools can be handy for adjusting and aligning components, driving in fasteners, or tapping things into place.
- Safety Equipment- When working with tools and potentially hazardous materials, always prioritize safety. Wear safety goggles, gloves, and appropriate protective gear to protect yourself from potential injuries.
Design Considerations
A. Determining the size and capacity of the compactor
Various factors guide the selection of size and capacity when making a DIY roller compactor. The main considerations are project requirements. The size of compactor selected is dependent on the degree of compaction needed and the area to be compacted. For higher degree of compaction, heavier drums need to be used; this reduces the number of passes needed to achieve the desired density. For compaction of large areas, an ideal length of the drum should be selected to cover a significant area per each pass and also allow easy maneuverability.
B. Selecting suitable materials for construction
Several factors affect the choice of materials for a DIY roller compactor. The size of the compactor and working conditions are the main factors to be considered. Large and heavy drums require tougher material, such as steel for the frame and axles. When working in harsh conditions, durable materials should be selected for longevity of the roller. Wood, or rust resistant steel is ideal for saline environments. However, wood is not suitable for framing if the roller is subjected to high moisture conditions.
C. Designing the frame and structure
The frame and structure of a DIY roller compactor requires attention to detail. The geometry of the frame affects maneuverability and general compaction efficiency of the roller. The frame should be sizable to allow free rolling of the drum and easy maneuverability. The intended area to be compacted also plays a significant role in designing the frame. It should give enough room for the operator.
Construction Steps
A. Step1: Preparing the materials and tools
Collect all materials and tools to the working are. Ensure all the tools are in proper working condition before beginning the building process. For materials with excess lengths, such as beams, cut them to required standards. It is important to have a detailed drawing of the roller compactor at this point for guidance. Treat all the steel elements as required and paint the small parts in advance before assembly.
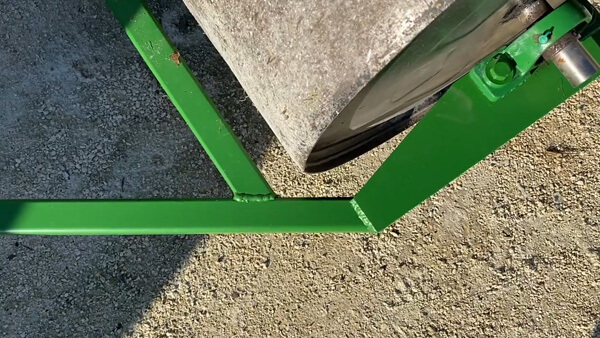
B. Step2: Construct the frame
Weld or fasten the beams together to form a sturdy and balanced frame. Ensure proper alignment and reinforcement, considering the dimensions and weight of the roller compactor. Provide points where an additional weight can be placed whenever need be.
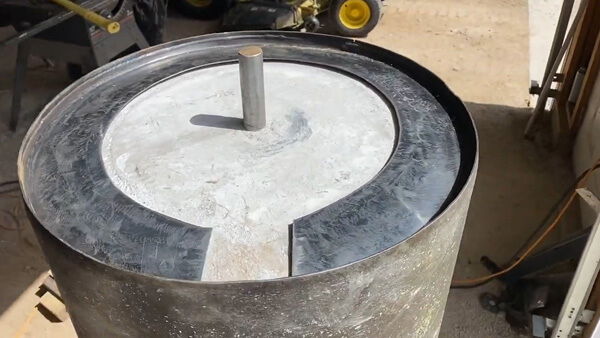
C. Step3: Build the compaction drum
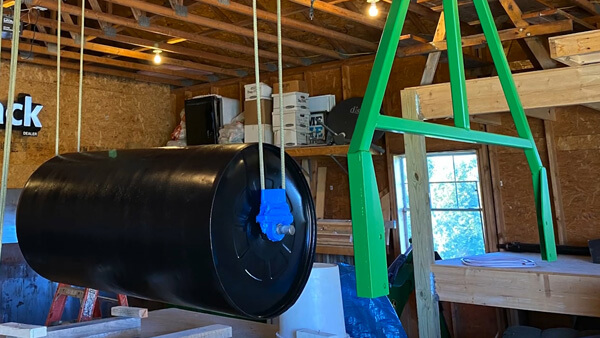
Obtain a steel drum of the desired size. Prepare the drum by cleaning and ensuring it is free from any debris or contaminants. Attach brackets to the drum for mounting the axle. Fill the drum with the chosen weighting material, such as water or sand, to achieve the desired weight.
D. Step4: Assemble the drum onto the frame
Bolt the bearings onto the frame as indicated in the design drawing. Bring the frame over the drum with each bearing on one end of the drum. At this point, use a spirit level to check if the drum is perfectly horizontal.
E. Step5: Install the bearing and axles
Attach the axle to the mounting on the drum and the bearing on the frame; this should be done on both ends of the drum.
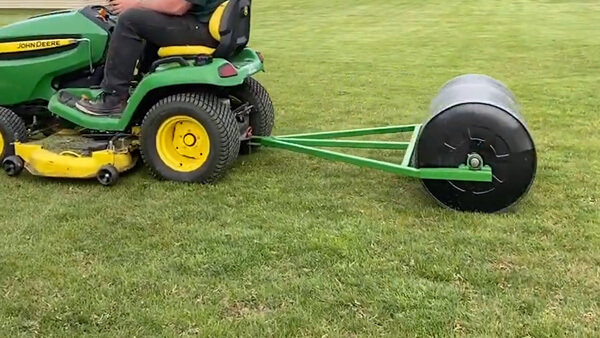
F. Step6: Attach the handle and control mechanism
Attach handles as instructed on the design drawing. Adding rubber cover to the handles improves the comfort of the operator. If the roller frame has tires, an independent tire steering should be installed for maneuverability.
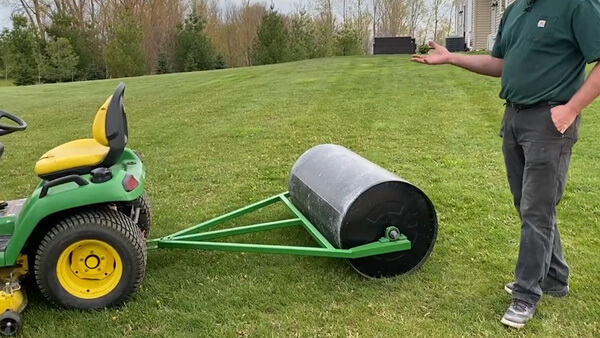
G. Step 7: Test and make necessary adjustments
Run the roller compactor over different kinds of material to determine its compaction efficiency. The roller should also be operated in different space conditions and terrains to test its maneuverability.
Safety Considerations
A. Importance of wearing protective gear
Wearing safety gear is crucial when operating a DIY roller compactor to protect against potential hazards. The equipment can involve heavy components, moving parts, and vibrations, which can pose risks of injury. Safety gear, including gloves, goggles, and sturdy footwear, helps safeguard against impacts, flying debris, vibrations, and potential contact with harmful substances. It ensures personal safety and minimizes the likelihood of accidents or injuries during operation.
B. Safety precautions during construction and operation
During construction and operation of DIY roller compactors, observe these safety precautions. Wear appropriate safety gear, follow proper handling techniques, and ensure a stable work surface. Maintain a safe distance from the moving drum, avoid loose-fitting clothing or jewelry that can get caught, and secure all components properly. Regularly inspect the equipment, adhere to weight and load limits, and operate with caution to prevent accidents or injuries.
Usage and Maintenance
A. Guidelines for using the roller compactor
- Wear appropriate safety gear, including a helmet, gloves, safety glasses, and high-visibility clothing.
- Familiarize yourself with the equipment’s controls and operation manual.
- Inspect the compactor for any damage or loose components before use.
- Ensure the work area is clear of obstacles and personnel.
- Start the compactor on level ground and gradually increase speed.
- Maintain a consistent and controlled speed during compaction.
- Avoid abrupt turns or sudden changes in direction.
- Regularly inspect and maintain the compactor according to the manufacturer’s recommendations.
B. Maintenance tips and schedule
- Cleaning- Regularly clean the roller compactor after each use. Remove dirt, debris, and any leftover materials from the drum, frame, and other components.
- Lubrication- Apply lubrication to moving parts, such as bearings and axles, as recommended by the manufacturer. This helps prevent rust and ensures smooth operation.
- Inspection- Conduct a thorough visual inspection before and after each use. Check for any signs of damage, loose bolts or fasteners, and wear and tear on the drum and frame. Address any issues promptly.
- Tire Pressure- If your roller compactor has wheels, check the tire pressure regularly and adjust it as needed. Proper tire pressure ensures stability and even compaction.
- Storage- When not in use, store the roller compactor in a dry and covered area to protect it from the elements and prevent corrosion.
Suggested Maintenance Schedule
- Daily: Clean the compactor and conduct a visual inspection.
- Weekly: Check and lubricate moving parts if necessary.
- Monthly: Perform a more detailed inspection, including checking for wear and tightness of bolts.
- Annually: Consider a comprehensive maintenance check or service by a professional.
Conclusions
To construct a roller compactor, one needs to have all the materials and tools in place for a smooth process. Once the material has been prepared, the frame and compaction drum can be constructed. These are to be assembled together with the help of an axle and bearings mounted to the drum and frame respectively. Enough room should be left for the drum to rotate freely.
Control features to adjust throttle for engine powered DIY roller compactors and tire steering system are added to aid maneuverability. The handles provide a place for the operator to hold during compaction; these are more comfortable if covered with rubber.
Roller compactors continue to play a critical role in saving time and improving efficiency in construction. They are mostly important in the modern day where compaction projects are done on a large scale.

Leave A Comment