How To Mix Grout:A Step-by-Step Guide Achieving the Perfect

Grout is a dense fluid that is used to fill gaps and reinforce existing structures. Grout is a water, and grout powder mixture that is used in pressure grouting, embedding rebar in masonry walls, connecting pre-cast concrete sections, filling voids, and sealing joints such as those between tiles.
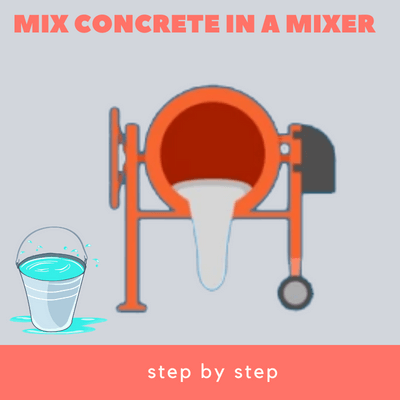
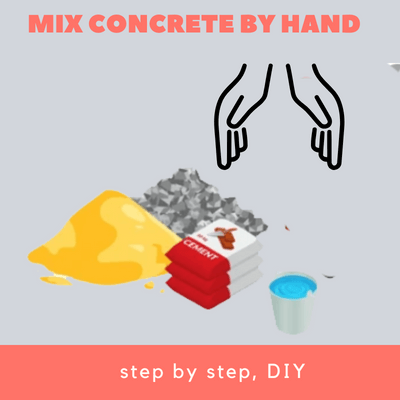
Mixing grout is not a vert difficult task. Simply pour dry grout into a small bucket. Visually, you can include as much as you want. Then, gradually add small amounts of water and mix until the mixture resembles peanut butter. Mix, then wait ten minutes before mixing again. That is it how simple is it.
Now let’s dig in and see you can do the mastery of mixing grout.


Contents
Materials And Tools Required For Mixing Grout
Materials
Grout powder

Grout comes in a variety of varieties. However, there are two distinct types: sanded and unsanded. The type of tile grout that will work best for your project will be determined by your goals.
In general, the grout you’ll want to use will be determined by the size of the tiles you’re working with.
Water
Grout comes in a variety of varieties. However, there are two distinct types: sanded and unsanded. The type of tile grout that will work best for your project will be determined by your goals.
In general, the grout you’ll want to use will be determined by the size of the tiles you’re working with.
Tools
You would be needing following set of tools to do the mixing.
- Bucket
- Caulk gun
- Grout float
- Margin trowel
- microfiber towel
- Putty knife
- Shop vacuum
- Tiling sponge
- Utility knife
Bucket and a putty knife is the most basic tool which you would be requiring in almost all cases. Other set of tools may or may not be required depending upon the complexity and nature of job.
Preparing The Surface
Vacuum the grout lines, then use a stiff putty knife to scrape any protruding grout and vacuum again. If you scrape too hard, the tile glazing will be chipped.
Tape off painted walls to protect them from grout for easier cleanup. Tape off any trim or inset tiles with crevices that have imprinted patterns.
Preparing The Grout Mix
Select the correct grout for the job

Sanded grout is a dry mixture of cement, filler particles, pigment, and sand. Sanded grout is recommended for joints larger than 1/8 inches because the sand allows it to stay in the joints longer and is less likely to crack as it cures.
Unsanded grout has a similar composition to sanded grout, minus the sand, of course. While this grout has less strength and binding power than sanded grout, it has a smoother texture and, because it lacks the bulk of sand, works better for smaller joints, those less than 18 inches thick.
It’s also ideal for use with tile materials that are prone to scratching, such as marble tile and most mosaics.
Add water to grouting powder
Pour about a quarter or half of the grouting powder into the bucket—you’ll want extra on hand in case the water-to-powder ratio in the mixing phase is off.
For how much water to use, follow the manufacturer’s mixing instructions, and start with a fraction less water than recommended; you can always add more lately.
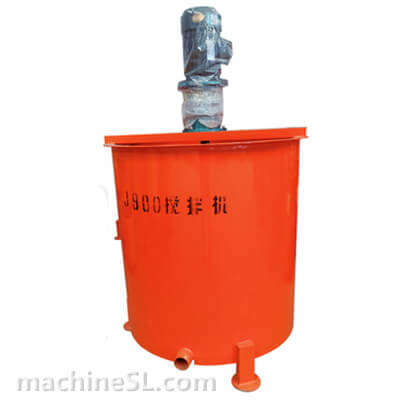
Mixing in the bucket

Tip the bucket to a 45-degree angle to make it easier to see the contents, then thoroughly mix with a grout-mixing knife or small trowel.
Continue mixing until all of the powder is combined, making sure to get rid of any lumps.
Have the right consistency
If the grout is too slack or liquid-y, add more powder and thoroughly mix. If you leave it too thin, it will shrink and crack. To push good grout into the tiles, a little elbow grease is required. If the grout is too dry and clumpy, wet the sponge and dribble a little water into the grout mix.
Make gradual additions until you reach the desired peanut butter texture.
Slake the grout
Allow the grout to “slake,” or rest for five to ten minutes to allow the chemicals to bond. Moisture permeates all of the powder during slaking; without proper slaking, grout is weaker and more prone to cracking and chipping.
Applying The Grout
Fill the joints

Squish the grout into the tile joints by applying it diagonally across the joints. To fully compress grout into the entire joint, use whichever side or corner of the float is required.
Grout should be applied upward on vertical surfaces. You won’t drop as much on the floor this way.
Remove any excess grout
Wipe away the bulk of the grout in a serpentine motion. This helps to distribute the grout evenly and keeps the grout float edge from digging into the grout lines.
Make your first “cleanup” passes with the float after you’ve filled all of the joints.
Cleaning And Finishing Up
Scrub the surface

Begin sponging after the grout has begun to harden (20 to 30 minutes). Choose a “hydrophilic” sponge rather than any old sponge, especially one from the kitchen. Make sure the sponge is damp, not wet, and sweep diagonally across the face of the tile to remove the grout.
The grout will smear all over the tile on your first few passes, which is fine. Simply rinse your sponge frequently in a bucket of clean water (never in the sink) and continue wiping. Rinse your sponge frequently and repeat until you have a thin haze.
Grind the grout lines
After cleaning the surface, begin ‘tooling’ (smoothing and levelling) the grout lines with the sponge. Holding the sponge in your palm, gently press down with your index finger on any grout joints that appear too high or uneven.
This step’s goal is to create consistent, even-depth grout joints. Allow the sponge to do the work instead of pushing too hard.
Remove the haze with a towel
Step away for about a half hour after all of the joints have been dressed to allow the surface to dry and form a haze. Then, using a towel, remove the haze. Regular towels work, but microfiber towels are the best choice for this job.
They remove grout haze much more quickly and cleanly than a regular towel because they have more fibres.
All inside corners should be caulked
An inside corner is one place you don’t want to grout. Inside grouted corners will always crack over time. Instead, after you’ve finished grouting and cleaning, use a color-matching caulk on any inside corners.
Over filling the void will only make it more difficult to tool and clean.
Conclusion
You can ensure that your projects look perfect every time now that you know how to mix grout. Once you understand the components you’re working with, the process becomes quite simple. Remember that a little forethought can go a long way toward producing a lovely DIY project.
As you learn how to grout tile, keep a small amount of unused grout on hand for future touch-ups. Grout absorbs moisture easily, so keep it in an airtight container like a reseal able plastic bag or a canning jar.


Leave A Comment