Grind Concrete Floor Without a Grinder: Easy Methods
One of the building materials that is most common is concrete. It is tough and does not necessarily remain smooth. Floors may crack, chip, or get uneven. Adhesives and paint also stick hard to its surface.
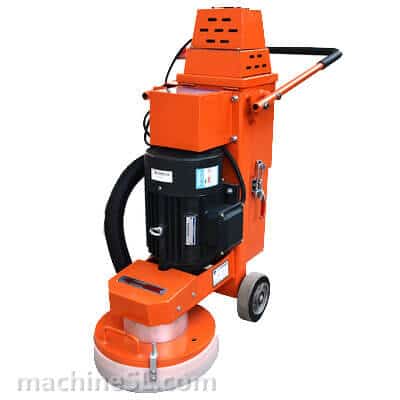
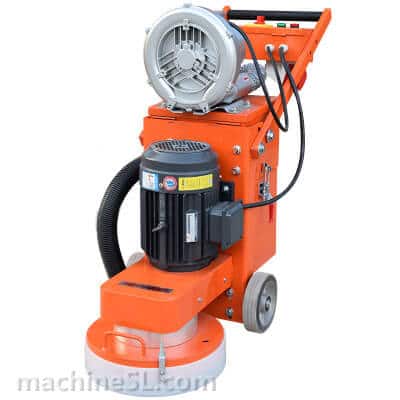
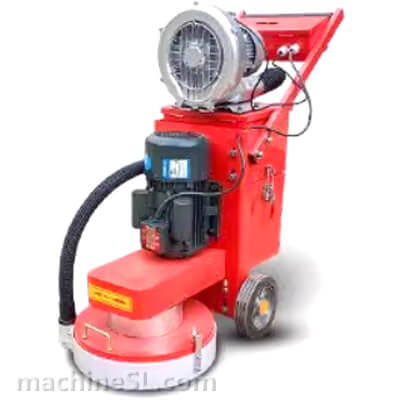
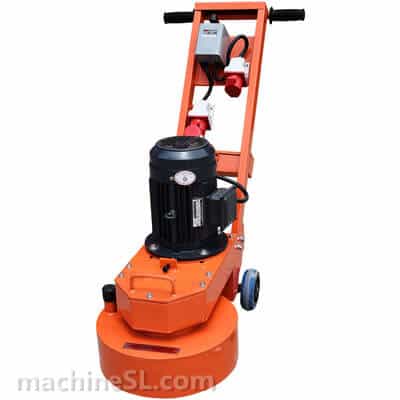
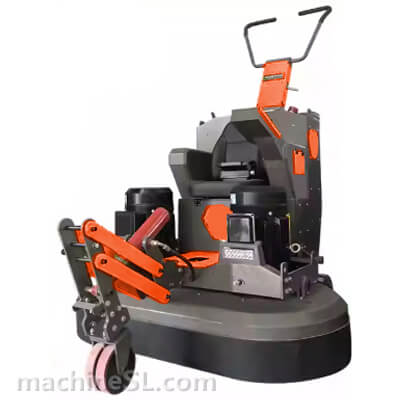
Grinding helps fix these problems. It also prepares the slab for coatings or polishing. But many people cannot access a professional grinder. Rental costs range from $50 to $100 per day. Buying one can cost thousands.
Noise is another barrier. Some apartment complexes and residential zones restrict noisy work. In those cases, DIY hand methods are the only choice.
This guide shows you how to grind a concrete floor without a grinder. You will learn safe methods, affordable tools, and pro tips from real-world practices.
Contents
Safety First

During the concrete floor grinding process, dust production is obvious. Some of the safety measures that should be taken care of are:
- Concrete dust is not ordinary dust. It contains silica. Silicosis is a dangerous lung disease that is a result of long-term exposure. Wear an open respirator mask of N95 or higher. Paper masks are not enough.
- ANSI-rated glasses will protect your eyes. Gloves eliminate blister risks and cuts. Knee pads should be used in case of kneeling.
- Wet methods reduce dust almost completely. Add water before sanding or rubbing. This turns dust into slurry. It is easier to clean and less harmful to breathe.
- Keep a shop vac with a HEPA filter close by. Seal other rooms with plastic sheets. Always manage slurry disposal. Do not pour it into drains unless local rules allow. Some cities treat it as construction waste.
- Check the floor before you start. Old slabs sometimes hide pipes, wires, or nails. Hitting them can cause accidents or costly repairs.
- Know the law. OSHA requires controls for silica exposure in construction. Even DIYers benefit from following these standards. Neighborhood noise rules may also apply.
Tools & Materials You Can Use Instead of a Grinder

There are many options for grinding without a big machine. We have categorized them as below:
Handheld options
This option doesn’t need any mechanical or power tools. It is simple and requires more physical effort. For handheld grinding, the following are the important tools.
- Masonry chisels with a hammer. Masonry chisels with a hammer are great for knocking down small high spots.
- Rubbing bricks: Rubbing bricks is somehow also rubbing stone. The rubbing brick or stone is designed for smoothing rough patches.
- Diamond hand pads or sanding blocks. Sanding blocks are perfect for detailed finishing and edges.
Power alternatives
Power alternatives for grinding concrete floors require more mechanical and power tools. It requires less physical effort. The important tools and equipment for power grinding are
- Angle grinder with a cup wheel: An angle grinder with a cup wheel is small, but it is effective for limited work.
- Orbital sanders: Orbital sanders are also known as floor buffers. They can smooth large areas slowly with abrasive pads.
Additives and helpers
Some tools are not directly involved in the grinding process. Yet they act as helpers. The purpose of these tools is to smooth and simplify the process or ensure safety. These tools include:
- Chemical removers: These are some specific chemicals that are harmless to concrete. But the chemical removers break down glue or paint, so scraping is easier with them.
- Water: It is a primary requirement during the grinding of the concrete floors. Water kills dust and also provides easier finishes.
Mild detergent: The mild detergents may be taken to be used as a lubricant in wet sandin
Step-by-Step Methods

Grinding a concrete floor without a grinder is a complex procedure. So, it is effective to adopt an accurate method. Here are proven methods for grinding without a grinder.
A. Using a Concrete Rub Brick / Rubbing Stone
The first step is to clean the surface properly. For this, we use a rubber brick or a rub stone.
- Wet the slab with clean water. Hold the rubber brick flat. Move it in small circles. Use steady pressure.
- Rinse both the surface and the brick often. This removes slurry and prevents clogging. Repeat until the area is level.
- This method is perfect for spot leveling and light polishing.
B. Chisel & Hammer Method
With the hammering method, we mark specific points that can lead to grinding. This is useful for trip hazards or raised patches. So,
- Mark high points with chalk.
- Hold the chisel at 30–45°. T
- ap lightly with the hammer.
- Remove material in thin layers.
Do not rush. Removing too much creates gouges. After chiseling, smooth the area with a rubbing brick.
C. Diamond Hand Pads/Sanding Blocks
While using diamond pads, the role of grit is the most important. These pads are excellent for corners, steps, and edges. Follow the instructions as below:
- Select grit carefully. Coarse pads remove unevenness. Fine pads polish the surface.
- Always add water. This keeps the pad cool and reduces dust.
- Sand slowly in a circular motion.
D. Floor Buffer with Abrasive Pads
Lastly, we need to buff the floor. For this, you can
- Attach diamond or carbide pads to the buffer. Work the machine in overlapping passes. Apply light pressure.
- Keep the floor damp to control dust. Use a shop vac to collect slurry.
- This method covers more area than hand tools. It is slower than a grinder but effective for medium spaces.
Pro Tips & Tricks

To achieve the required result without any compromise, here are some pro tips.
- Work in smaller zones. Large floors are overwhelming without machinery.
- Use a mild detergent with water. This reduces friction and helps with dust control.
- Diamond pads have grit ranges from 50 to 3000. Low grits cut. High grit polish. Choose according to your goal.
- If you patched the concrete, smooth it to match the surrounding area. Otherwise, it will show after sealing.
- For tough glue or coatings, apply a chemical stripper first. Always test a small spot. Follow product instructions. Ventilate well.
Common Mistakes to Avoid

Errors in the floor grinding of concrete may have severe consequences. is better to understand what to avoid. For example:
- Never skip PPE. Silica is a serious dust hazard. Silicosis and lung cancer may occur on a long-term basis.
- Be careful not to be over-sharpen with chisels. That will damage the floor and create gouges. Deep chips are difficult to smooth later.
- Avoid using the wrong grit. A coarse pad used too late will leave scratches. A fine pad used too early will waste time and wear out quickly.
- Do not work on too large an area at once. Manual methods require focus on small sections. Trying to tackle a whole room in one pass leads to uneven results.
- Never skip wetting the surface. Dry sanding or rubbing creates harmful airborne dust. Wet methods keep the process safer and cleaner.
- Chemical removers should not be put to used without prior tests. The concrete can be destroyed by some of the products that can cause residue, which cannot react with the coating.
- Avoid ignoring floor preparation before grinding. Leaving debris, nails, or loose concrete can destroy your tools or hurt you.
- Do not rush the process. Concrete production without a grinder is time-consuming. Uneven surfaces are caused by rushed and hasty workmanship.
- The result of these methods should not be a mirror-like finish.
When You Shouldn’t DIY Without a Grinder

However, we have discussed that we can grind a concrete floor without a grinder. But some projects require a grinder. Here are the situations where you shouldn’t do DIY without using a grinder. In these cases, renting a grinder is best. The cost is worth the quality and speed.
- Large areas are too time-consuming for hand methods. Manual tools cannot maintain uniformity over hundreds of square feet.
- Epoxy and high-performance coatings need precise prep. Coatings rely on a Concrete Surface Profile (CSP). CSP ranges from 1 (smooth) to 10 (rough). For epoxy, CSP 2–3 is common. Hand methods rarely achieve this.
- DIY can also be dangerous in case the slab is too uneven or poses a slippery threat. Safety and stability are brought about by professional grinding.
Maintenance & Aftercare

After completing the grinding, clean it thoroughly. Eliminate liquid, dust and debris. A mop with clean water usually works.
If applying coatings, test the moisture content of the concrete. Excess moisture causes coating failure. Concrete also must meet minimum strength requirements.
Use a sealant in order to guard bare concrete. This keeps off stains and simplifies the cleaning process.
Keep sweeping and wet mopping. Avoid harsh cleaners. Frequent maintenance will prolong the floor’s life span.
Conclusion
It is possible to grind a concrete floor without a grinder. Rubber bricks, chisels, diamond pads, and floor buffers are effective for small tasks.
These means are cheap, viable, and friendly to the environment. They fit small and rough surfaces or light preparation.
But for large projects or precision work, a grinder is still necessary. It provides proper surface profile, pace, and uniformity. Select your fitting approach to your project.
Put safety first. Under the appropriate strategy, your floor will be smooth, safe, and fit for its next use.
Leave A Comment