How to Grind Floor Level: Step-by-Step Guide [Like a Pro]
Introducing the art of floor grinding – a meticulous process that transforms uneven surfaces into smooth foundations. Whether you’re preparing for new flooring, refinishing, or simply seeking a polished look, floor grinding holds the key to achieving a level and appealing finish. This post navigates through the essential steps, safety measures, and tips needed to master the technique and create a seamless base for your interior spaces.
- Prepare the surface for new flooring installation or refinishing.
- Achieve a smooth and even surface for tiling or other floor coverings.
- Remove imperfections, such as bumps, high spots, or rough patches.
- Enhances the aesthetics of the space with a seamless and polished appearance.
- Provides a stable foundation for flooring materials, reducing wear and tear.
- Eliminates tripping hazards and improves overall safety.
- Wear safety gear, including safety glasses, hearing protection, and a dust mask.
- Securely set up and adjust the grinder according to manufacturer instructions.
- Work in well-ventilated areas or use dust collection systems to minimize airborne particles.
Contents
Tools and Materials
A. Necessary Tools
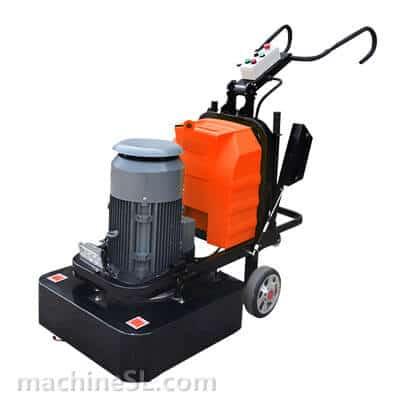
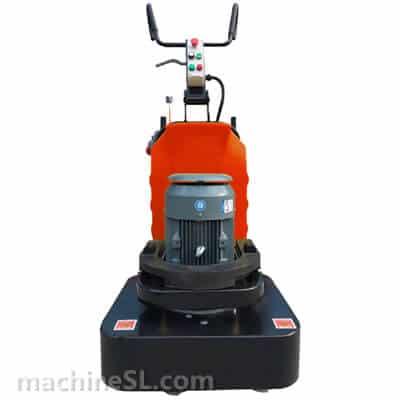
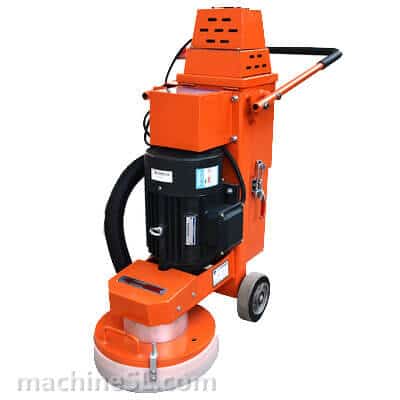
- Angle grinder (handheld or walk-behind)
- Diamond grinding cup wheel (various grits)
- Safety gear (safety glasses, hearing protection, dust mask)
- Sturdy work gloves
- Sturdy footwear (especially for walk-behind grinders)
- Extension cords (if using electric grinder)
- Level tool (spirit level)
- Broom and dustpan
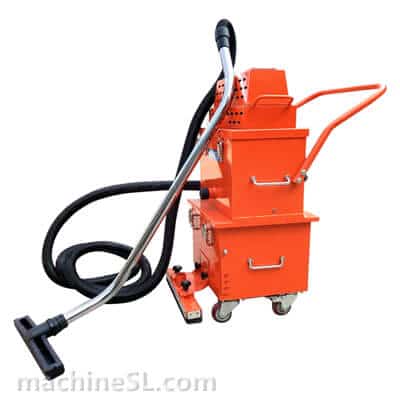
- Vacuum cleaner
- Protective sheeting or drop cloths
B. Materials Required
- Concrete filler or patching compound
- Primer (if using a leveling compound)
- Self-leveling compound (if necessary)
- Abrasive cleaning pads or brushes
- Sandpaper (for manual touch-ups if needed)
- Water and mild detergent
Preparing for the Task
A. Clear the Area
- Remove all furniture, obstacles, and debris from the floor.
- Ensure the workspace is free of any items that might hinder the grinding process.
B. Assess the Floor
- Use a level or straightedge to identify high and low spots on the floor.
- Mark areas that require more attention to achieve a level surface.
C. Address Cracks and Holes
- Inspect the floor for cracks and holes.
- Fill in cracks and holes with an appropriate filler or patching compound.
- Allow the filler to dry and cure according to the manufacturer’s instructions.
Safety Precautions
A. Wearing Safety Gear
- Prioritize safety by wearing appropriate safety gear:
- Safety goggles to protect your eyes from debris and dust.
- Sturdy work gloves to safeguard your hands.
- Ear protection to reduce the impact of noise.
- Dust mask or respirator to prevent inhaling airborne particles.
B. Ensuring Proper Ventilation
- Work in a well-ventilated area to minimize the inhalation of dust.
- Consider using fans or opening windows and doors to improve air circulation.
C. Securing the Work Area
- Keep the work area cordoned off using barriers or caution tape.
- Prevent unauthorized access to minimize the risk of accidents or injuries.
Grinding Process
A. Setting up the Angle Grinder
- Attach a suitable diamond grinding cup wheel to the angle grinder based on the floor type and grinding requirements.
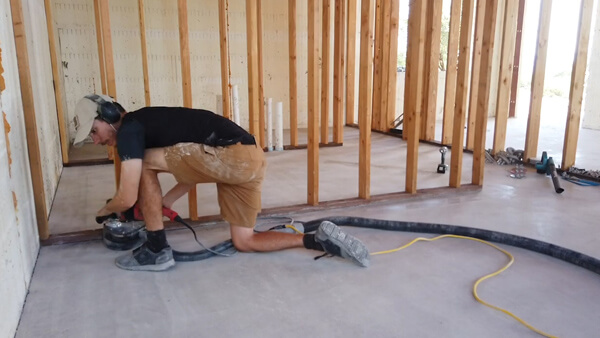
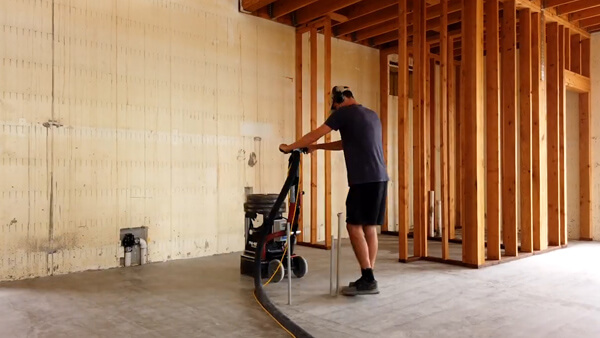
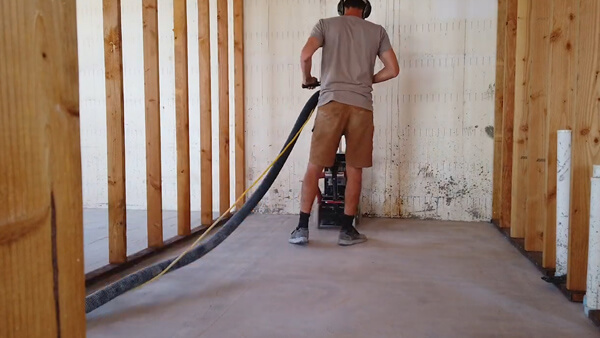
B. Starting the Grinding
- Begin grinding at a slight angle to effectively remove rough patches and high spots.
- Gradually flatten the surface while maintaining a controlled grinding motion.
C. Working in Sections
- Divide the floor into manageable sections to ensure consistent and even grinding.
- Focus on one area at a time to maintain control over the process.
D. Maintaining Consistent Pressure and Motion
- Apply a steady and even pressure on the grinder to achieve uniform results.
- Keep the grinder moving in a back-and-forth or circular motion to avoid creating grooves.
E. Checking Progress
- Periodically use a straightedge or level tool to check the levelness of the ground.
- Adjust your grinding technique as needed to achieve the desired level surface.
Dust Management
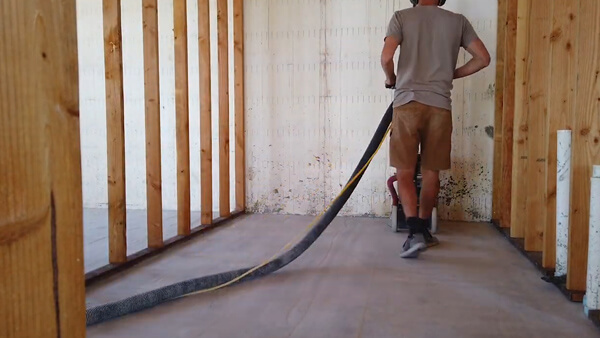
A. Using Vacuum Attachment
- Attach a vacuum cleaner to the angle grinder to effectively capture dust at its source.
- This helps minimize airborne dust and maintains a cleaner work environment.
B. Hanging Plastic Sheets
- Hang plastic sheets or tarps around the work area to create a containment barrier.
- This prevents dust from spreading to other parts of the space.
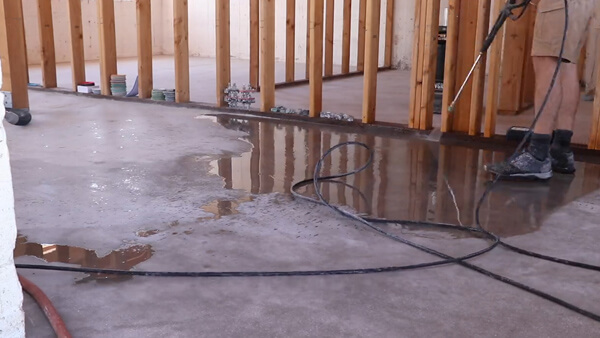
C. Considering Wet Grinding
- Wet grinding involves using water to control dust by binding particles together.
- This method reduces airborne dust significantly and provides a cleaner work area.
Cleaning Up
A. Thorough Cleaning
- After completing the grinding process, use a broom and vacuum cleaner to thoroughly clean the entire area.
- Remove any residual dust and debris to leave the workspace clean and tidy.
B. Proper Disposal
- Dispose of the collected dust and debris in accordance with local regulations and guidelines.
- Follow appropriate waste disposal practices to minimize environmental impact.
Filling and Leveling
A. Addressing Uneven Areas
- Identify any remaining low spots or areas that require additional leveling.
- Prepare these spots for the application of a leveling compound.
B. Applying Primer
- Apply a suitable primer to the floor before using a leveling compound.
- The primer enhances adhesion and ensures a more even distribution of the leveling material.
C. Mixing and Applying Leveling Compound
- Mix the leveling compound according to the manufacturer’s instructions.
- Apply the compound evenly over the floor, focusing on the low spots and uneven areas.
- Follow the recommended drying and curing times specified by the manufacturer.
Final Finishing
A. Drying and Curing
- Allow the applied leveling compound to dry and cure according to the manufacturer’s instructions.
- Follow the recommended time frame to ensure the compound sets properly.
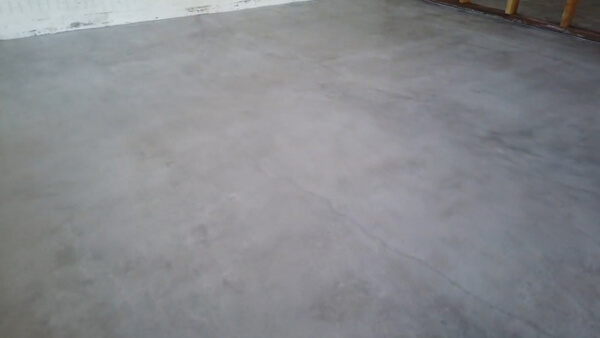
B. Smoothing the Surface
- Once the leveling compound is fully cured, lightly sand the surface to achieve a smooth finish.
- Use a fine-grit sandpaper to remove any imperfections or roughness, if present.
Post-Grinding Inspection
A. Inspecting for Uneven Spots
- Carefully examine the leveled floor for any remaining uneven spots or imperfections.
- Use a level tool or straightedge to identify areas that require further attention.
B. Addressing Imperfections
- If you find any imperfections, address them by either:
- Conducting additional grinding to smooth out the areas.
- Applying additional filler or patching compound as necessary.
Conclusions
In conclusion, mastering the art of floor grinding involves a systematic approach. Clearing the area, assessing the floor, adhering to safety precautions, and employing precise techniques all contribute to achieving a leveled and polished surface.
Patience and attention to detail are paramount for ensuring optimal results, as a rushed process can compromise the quality. As you admire your newly transformed floor, take pride in the careful work you’ve done – creating a foundation that’s not only visually appealing but also safe and functional for years to come.

![How to Grind Concrete Floor The Guide [Step by Step]](https://www.machinesl.com/wp-content/uploads/2023/12/How-to-Grind-Concrete-Floor-The-Guide-Step-by-Step.png)
Leave A Comment