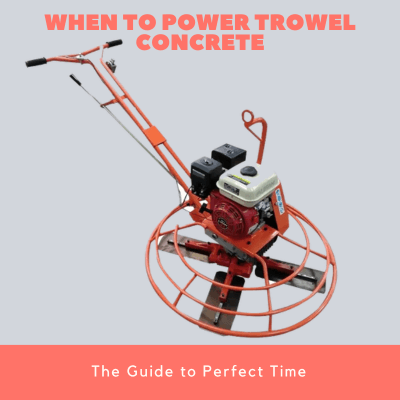
How To Use Power Trowel [Walk Behind & Ride On]
One most important step after the concrete pouring in the construction industry is the concrete finishing. The construction equipment or machine used during the concrete finishing is the trowel. For an easier way of describing a trowel, this construction equipment looks like an inverted fan which runs over a fresh concrete to polish it.
Aside from power trowel used for smoothening or polishing the concrete finish, it also creates a more leveled and compacted finish of the concrete slabs which makes a professional and desirable finish.
There are two types of power trowel used in the concrete finish.
- Walk behind power trowel
- Ride on power trowel
power trowel start from $150

Contents
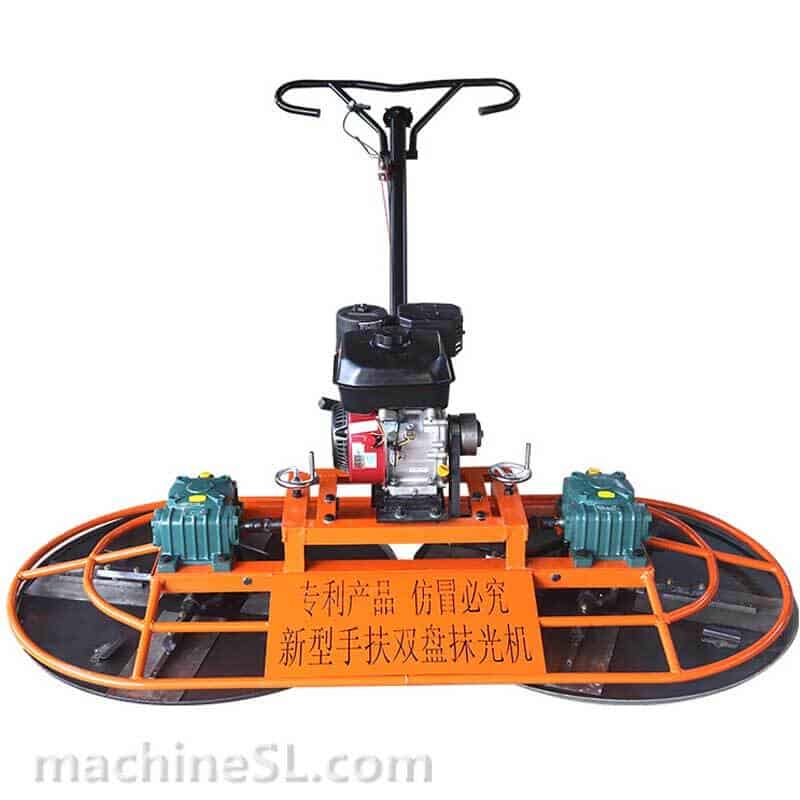
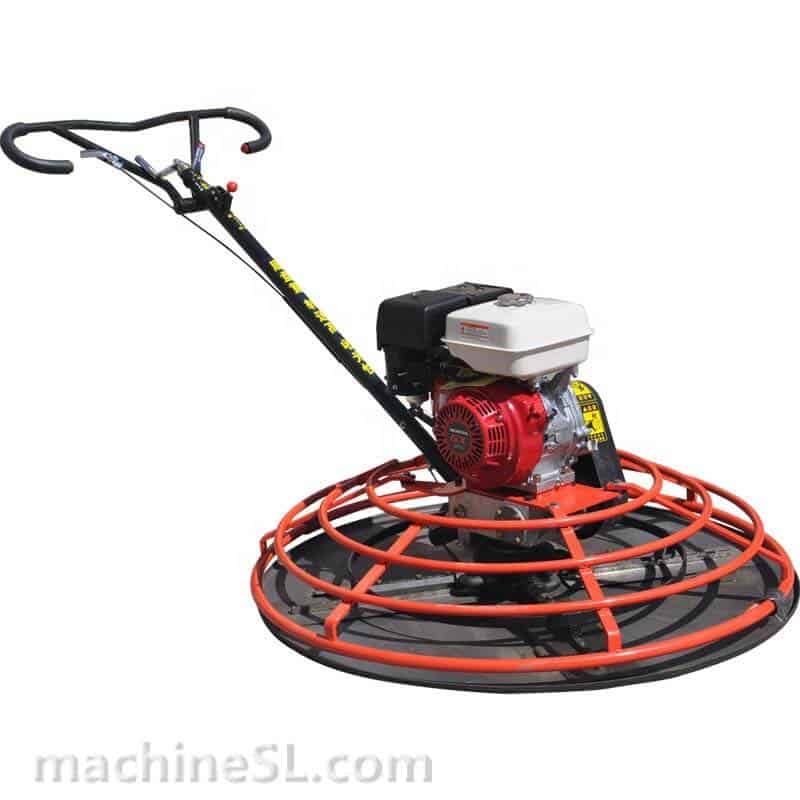
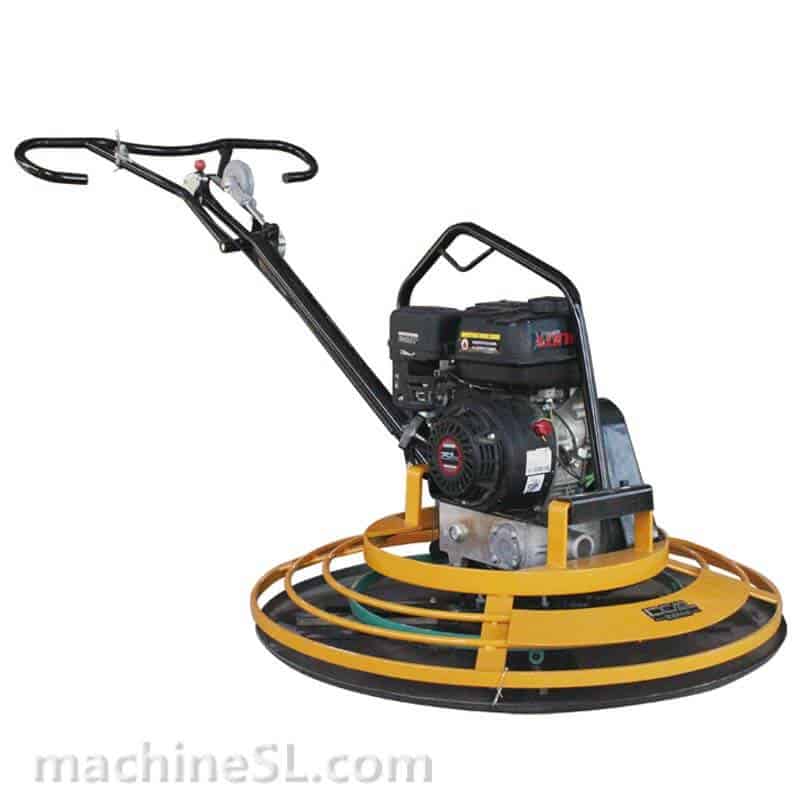
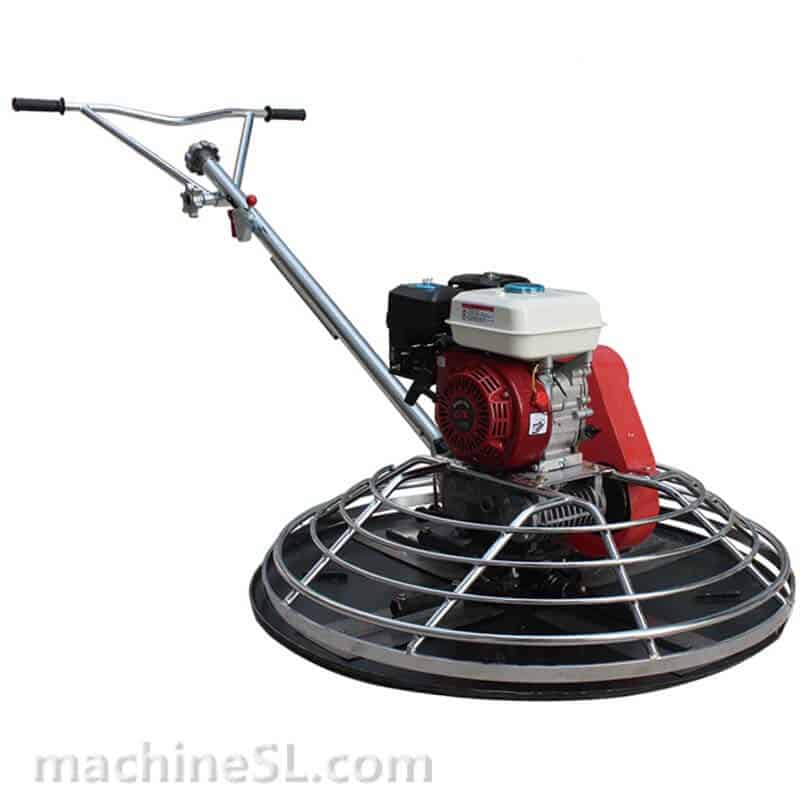
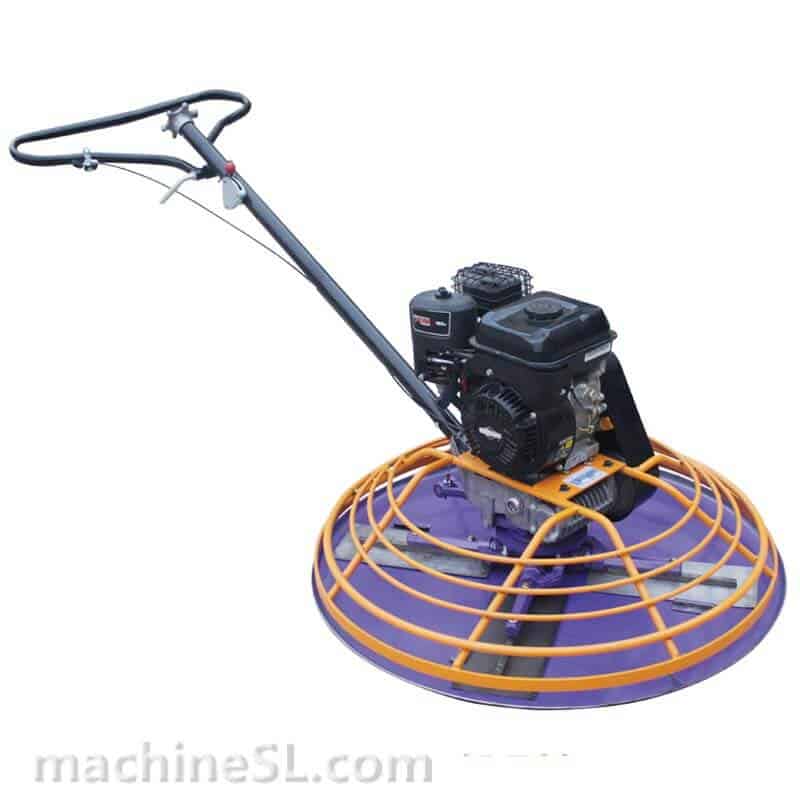
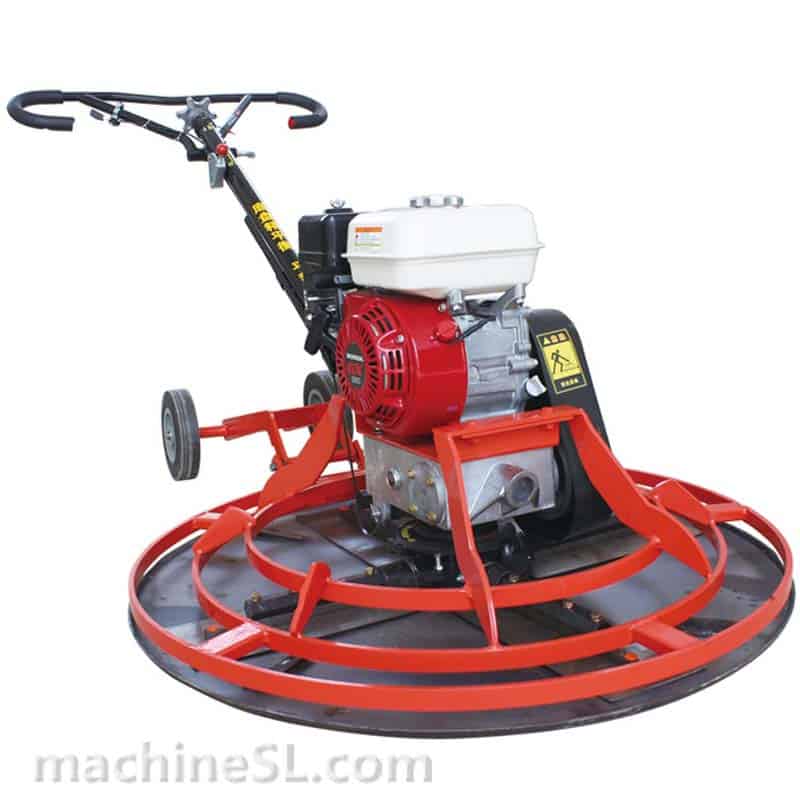
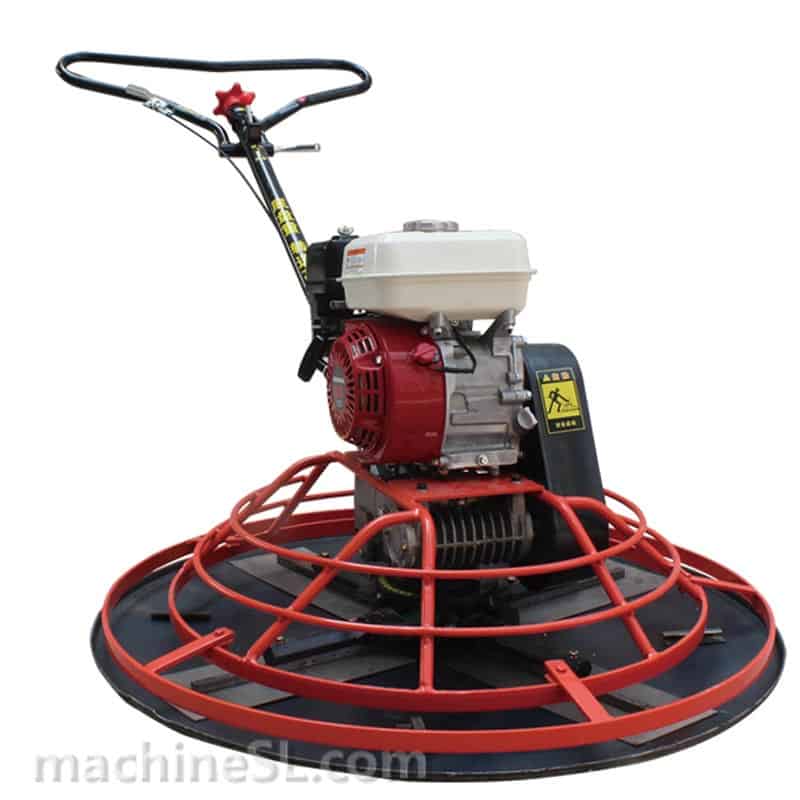
Walk Behind Trowel
How does walk behind trowel work
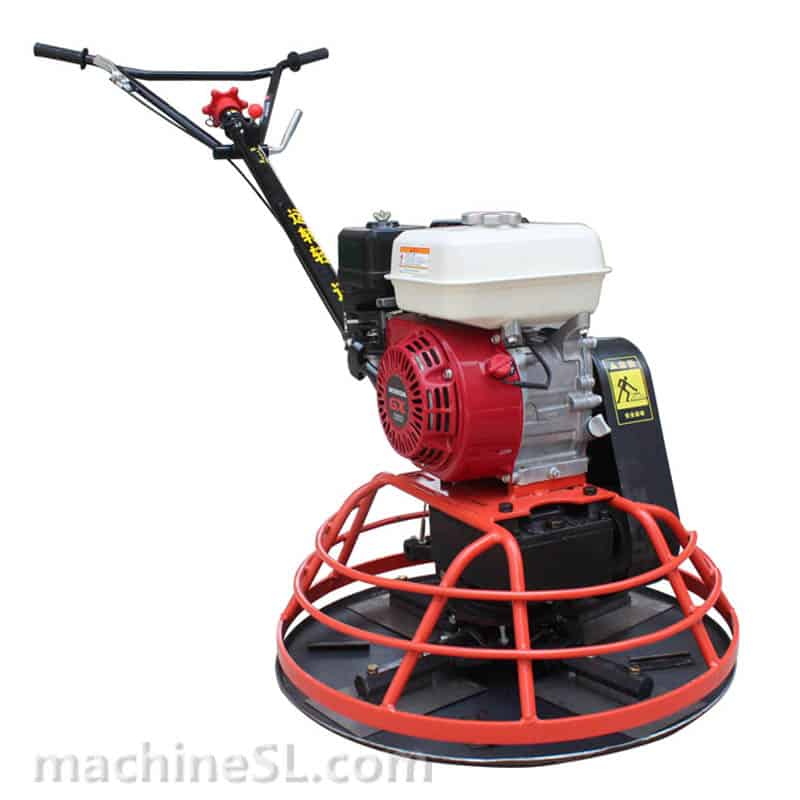
Walk behind trowels are used for smaller and tighter areas. The operator of this type of power trowel is behind the equipment maneuvering it to their desired area of finishing. Most walk behind power trowel that you can find in the construction site are fuel-operated but there are also that are electric.
How to use walk behind trowel
Before knowing how to use the walk behind power trowel, you must first know its different parts and components and necessary safety measures that needs to be done before operating.
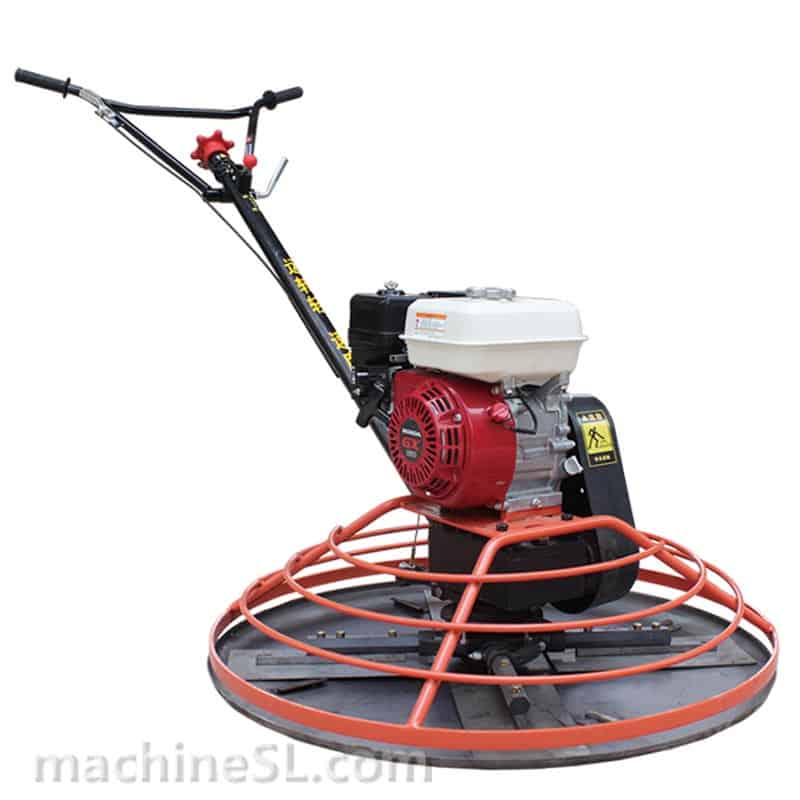
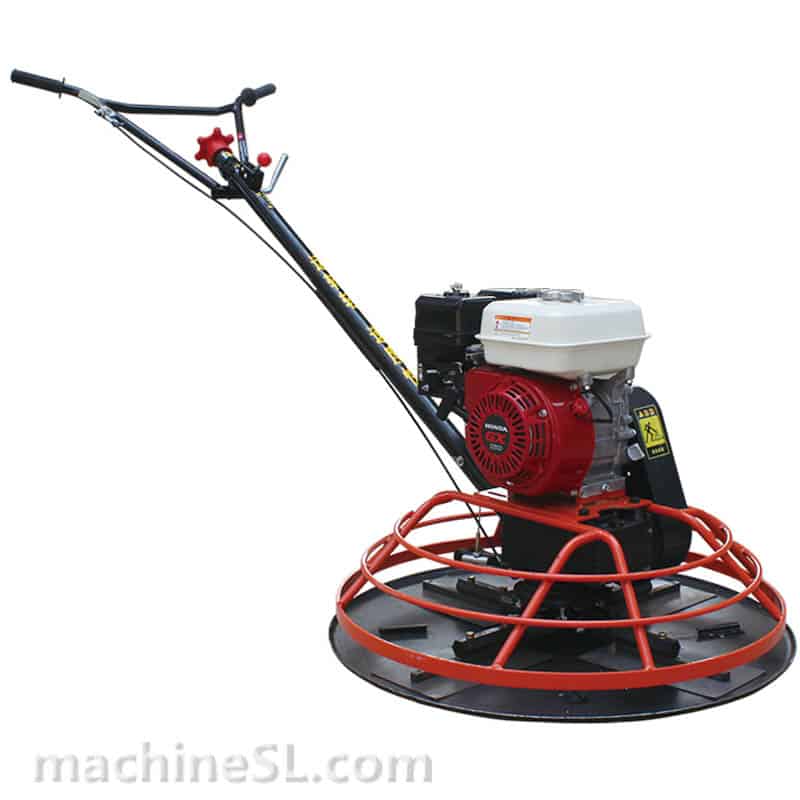
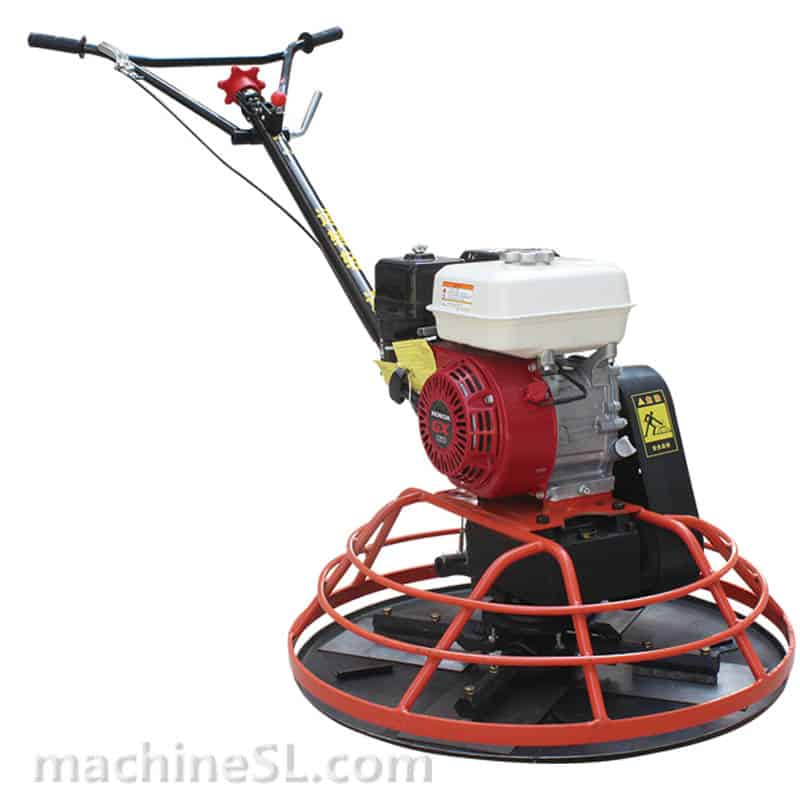
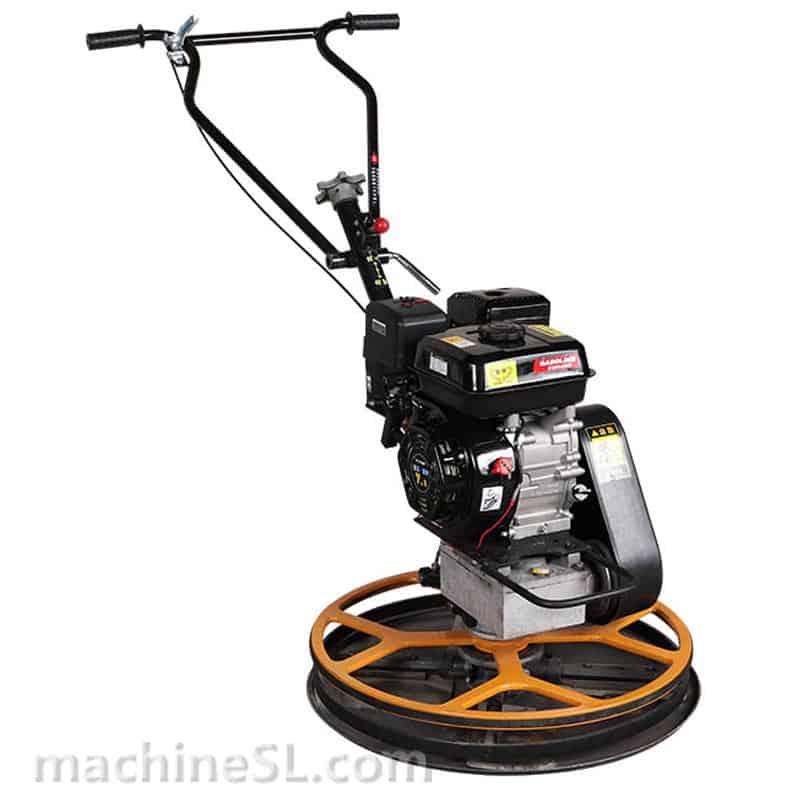
Basic Components and Uses
- Starter Grip – This is to be pulled to turn the engine on.
- Handle Bar/ Handle Grip – This is the part where you put your hands to grip and maneuver the trowel.
- Control Handle – This is to control or adjust the pitch of the blades.
- Throttle and Throttle Grip – This is to control the speed of the engine.
- Guard Ring – This is use to protect and for safety purposes.
- Engine – This is used to power the walk behind trowel.
- Blades – The blades can be of finishing blade and the combo blades. These blades are used for initial finishing and the final finishing.
- Float Pan – This is an attachment to the trowel blades for flatter finish.
- Stabilizer – This is used to lessen the vibration and hold steady the arm.
- Dead switch or Kill switch – In cases that the operator are unable to control the trowel.
Starting the Walk Behind Power Trowel
- Turn the fuel valve lever on.
- Make sure that the throttle lever is in idle position or off position.
- Enable the kill switch.
- Pull the starter grip. (Do not let the it go quickly) If needed, do it a couple of times until the engine has started.
- Once the engine is on, allow the trowel to be in steady position for a couple of minutes and monitoring if there are unusual sound, leaks or other odd behavior of the trowel.
- If the power trowel works well in that couple of minutes, turn the throttle on or in its run position.
Operating the Walk Behind Power Trowel
- Grip the handle bar and control the pitch and the speed of the blade.
- Start to manuever the trowel as you control the the lifting and the pushing down of the blades to be in contact with the concrete slab.
- Swing from left to right, as you move backward. Avoid staying on one area for quite some time to not over work the concrete or leave a mark on the finished slab or using the fastest speed to lessen the chances of uneven floor surface.
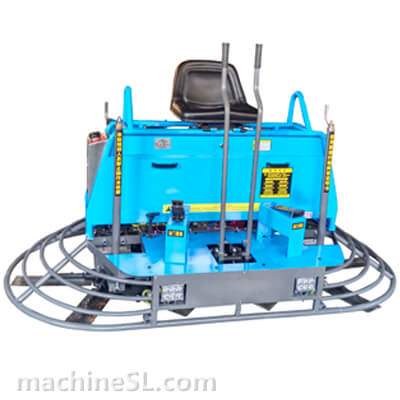
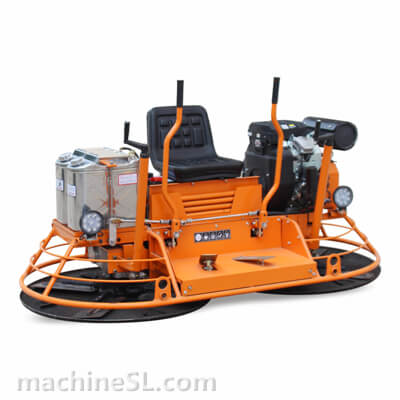
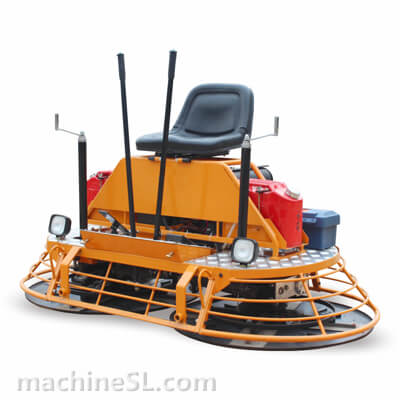
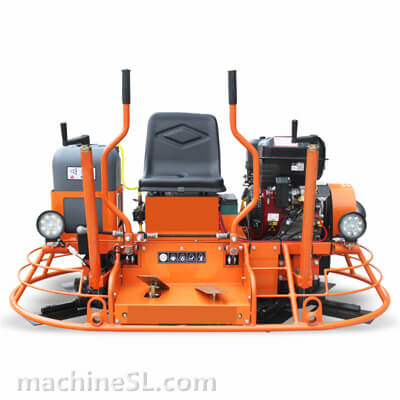
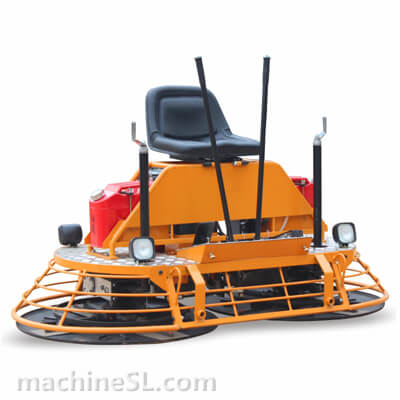
Ride-on Trowel
How does ride on trowel work
Ride on power trowel are used for bigger and wider areas. As this is manually operated, the operator of this type of power trowel should be sitting comfortably on the machine and control the power trowel by pressing the control buttons.
How to use ride on trowel
Before knowing how to use the walk behind power trowel, you must first know its different parts and components and necessary safety measures that needs to be done before operating.
Basic Components and Uses
- Steering Control – This is control used to manuever the equipment to your desired direction.
- Pitch Control – This is to control or adjust the pitch of the blades.
- Ignition Switch – This is used to power the engine of the power trowel.
- Front, Rear, Left & Right Side Guard – This protects or used as an access to the different internal components of the power trowel for maintenance, troubleshooting and repair purposes.
- Lifting Points – This is used to control the power trowel in the lifting towards the top of the concrete slab.
- Engine – This is used to power the ride on trowel.
- Blades – The blades can be of finishing blade and the combo blades. These blades are used for initial finishing and the final finishing.
- Gearbox – This are the assemblies responsible for the speed and and torque of the trowel.
- Speed Pedal – This is used to control the speed of the blade.
- Battery – This is used to power the engine.
- Safety Stop Switch – Once the operate sits, it automatically start the engine.
- Indicator Lights – Indicates if certain parts are turned on.
Operating the Ride On Power Trowel
- Before getting on the operator’s seat, make sure that the safety stop switch are not disable because this is for safety precautionary measure to avoid any incidents. Once you have verified that it is enabled, lift yourself onto the trowel and sit on the operator’s seat. Avoid gripping the joystick upon lifting yourself.
- Turn the ignition switch to its on position until you hear that the engine is running. There will be indicator lights for the oil and charge during this step.
- Keep the ride on trowel in its idle position first for a couple of minutes and check for any unusual sound, leaks or odd behavior of the trowel.
- Put your foot on the pedal and control the speed of the trowel. Pushing the foot pedal to its full capacity indicated the maximum speed.
- Control the joysticks which are located on the left and right of the operator’s seat. Depending on the manual, a certain joystick is responsible for the forward and backward of the trowel while the other joystick is to manuever it to its left or right side.
- As you control the manuevering of the trowel, adjust the lifting and the pushing down of the blades to be in contact on the concrete slab.
- Avoid staying on one area for quite some time to not over work the concrete or leave a mark on the finished slab or using the fastest speed to lessen the chances of uneven floor surface.
Choosing The Right Trowel
These are the factors you need to consider before choosing a power trowel for your concrete finishing.
- Floor Area
- Blade Size
- Engine Power
Maintenance
Maintaining your power trowel is one of the important thing you need to do to keep your power trowel in good condition.
- Always remove the dirt after operation. Make sure that it is not running.
- Check whether the nuts and bolts are tightened.
- Make sure that the air filter are free from dust and dirt.
- Check for oil and other fluid levels to ensure that it is in the required level.
- During the filling of fluids that are below their required level, allow it to cool down first and avoid overfilling as it can cause it to leak. In instances that it will leak, wipe off any overdue and allow it to dry before using.
- Check for any damages or rust on the blades and change it if necessary.
- Always check is the kill switch is enabled and working.
concrete power trowel start from $150


Leave A Comment