When to Power Trowel Concrete: Timing Made Easy

Power troweling is the process that involves smoothing and densifying recently placed concrete. This process is used in the finishing of concrete.
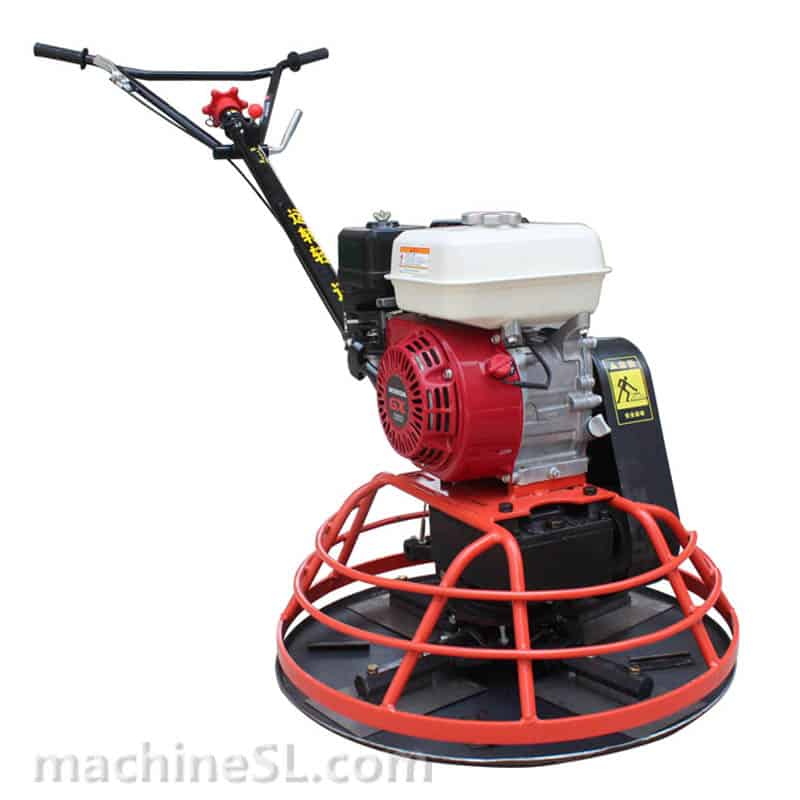
It involves the use of machines with rotating blades that polish the slab as well as compact the surface. The result is a very hard, glossy and long-lasting finish. Hence it is best used in driveways, warehouses and industrial flooring.
Sometimes, troweling gets confused with floating. However, floating and troweling are different, but they both take place during finishing. Troweling comes after applying more pressure to compress and seal the concrete. The equipment used varies.
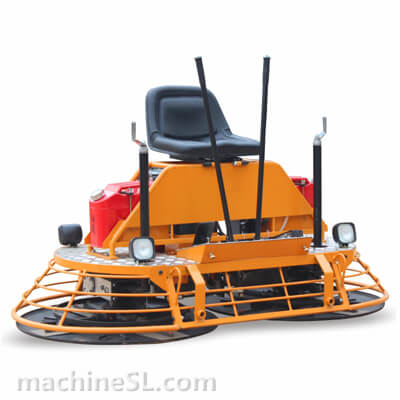
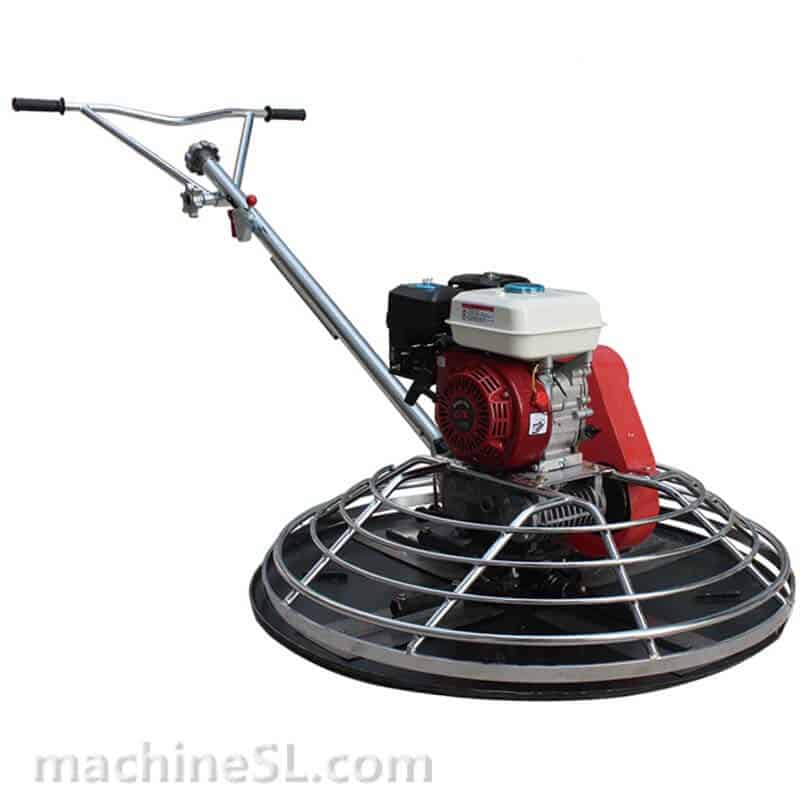
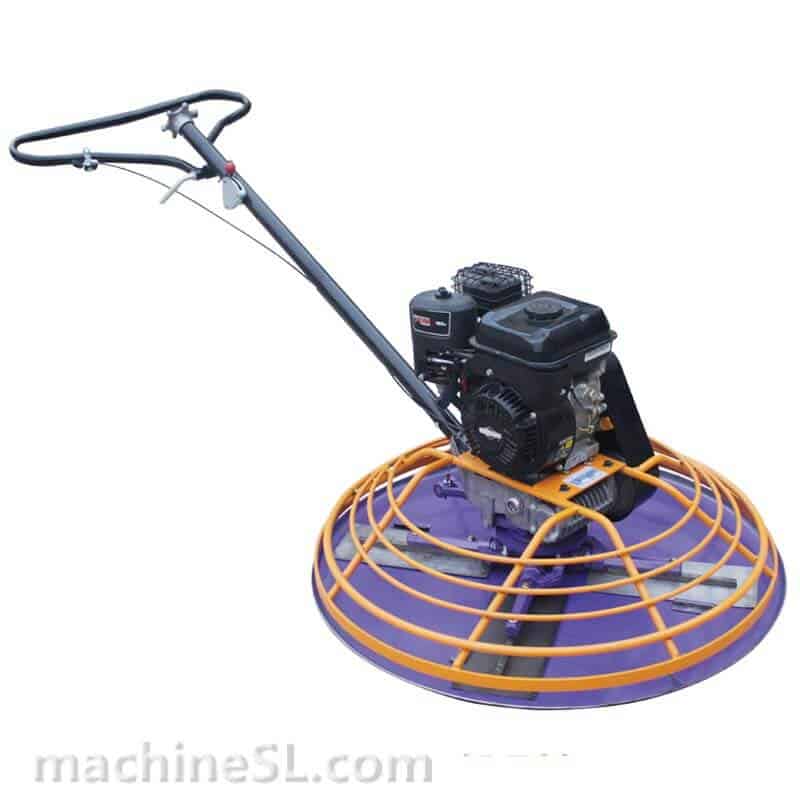
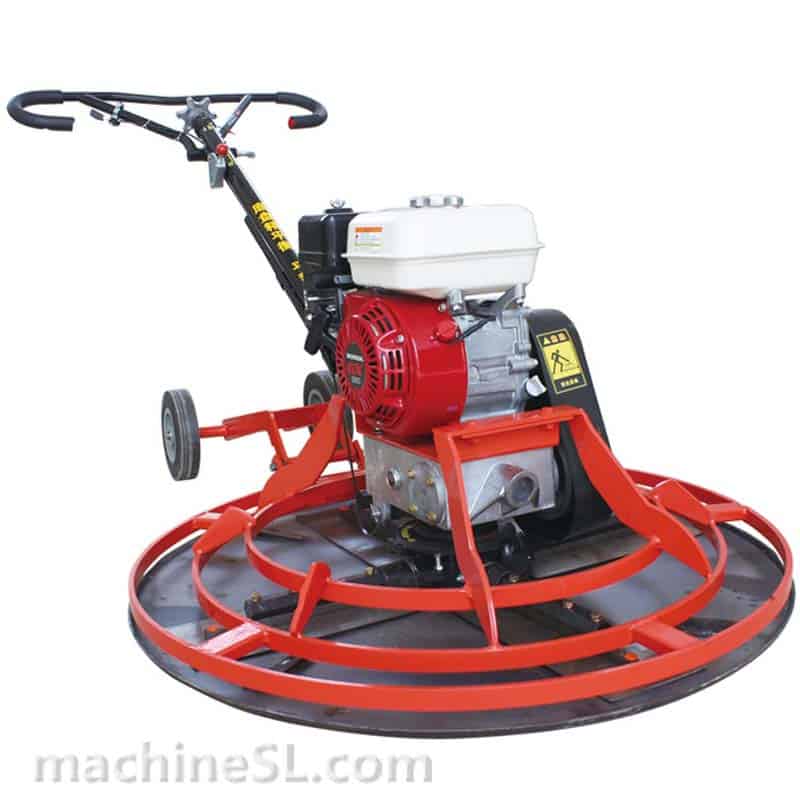
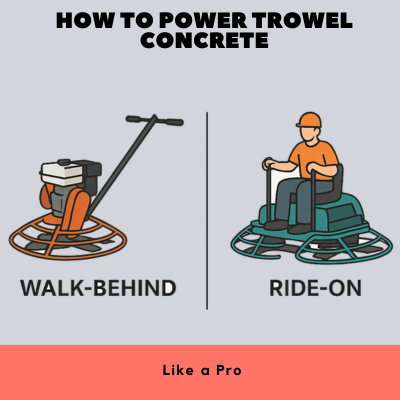
Small jobs may require only a hand trowel. Medium slabs often call for a walk-behind power trowel. Moreover, due to speed and efficiency, ride-on power trowels are suitable for large-scale projects.


Contents
Power Troweling Stages: Overview of the Process

Power troweling is a process that is completed stage-wise. So, the stage distribution for power troweling is as:
Stage 1- initial Pour: The first stage starts right after pouring. The concrete is screeded to level the surface and remove excess material.
Stage 2 – Bull Floating: Immediately it is flattened and the surface is closed with bull float afterwards. It helps to embed large aggregates.
Stage 3 – Bleed Water Evaporation: The concrete enters the bleed water phase. During this time, excess water from the mix rises to the top. It’s critical not to touch the slab until this water has completely evaporated.
Trying to finish too early can trap water beneath the surface, which leads to scaling and weak spots.
Stage 4 – Floating: Once the surface loses its sheen, floating begins. This can be done manually or using a power float. It helps compact the surface lightly and bring the paste to the top.
Stage 5 – Troweling: After floating, the slab becomes ready for troweling, it is the phase where timing becomes crucial. Troweling enhances strength, aesthetics, and longevity.
It’s the final step in giving the slab a dense, professional-grade finish.
When Is the Right Time to Power Trowel Concrete

Concrete does not observe a strict timetable and therefore there is no set time to power the trowel by just looking at the clock. However, there is a general range.
- Power troweling usually begins between one and a half to four hours after pouring. But the actual timing depends on several key factors.
- The concrete mix design is important. Mixes with low water-cement ratios or accelerators set faster.
- In contrast, mixes with fly ash or retarders take longer. The air temperature and humidity also affect timing.
- Hot and windy days speed up evaporation. Cold or damp days slow down the setting process.
- Direct sunlight dries out the surface quicker, while shaded areas may stay wet longer.
Field Readiness Test
Contractors use several field tests to judge readiness. The two most important tests are here:
- Footprint Test
One common test is the footprint test. If a worker steps on the surface and leaves a shallow impression without sinking, the slab is likely ready.
- Thumbprint Test
Another significant test is the thumbprint test. Pressing a thumb lightly into the surface should leave a slight mark with some resistance.
- Shine Test
A shiny surface means that bleeding water is still present. A dull or matte look indicates the water has evaporated.
- Machines Test
Some crews perform a machine test by briefly running the trowel on the slab. If it floats across smoothly without cutting in or dragging, it’s good to go.
Early vs. Late Risks
Power troweling may possess some risks which can be classified as:
- Too Early Risks
Timing matters. Troweling too early can damage the slab. The blades may dig into the soft surface, tearing it apart or sealing in moisture. This results in low strength and flaking.
- Too Late Risks
Waiting too long causes different issues. The surface becomes too stiff for the blades to work effectively.
The result is a rough finish, blade chatter, or dark burn marks from friction. That’s why monitoring and testing are essential.
Blade Type and Setup Considerations Based on Timing
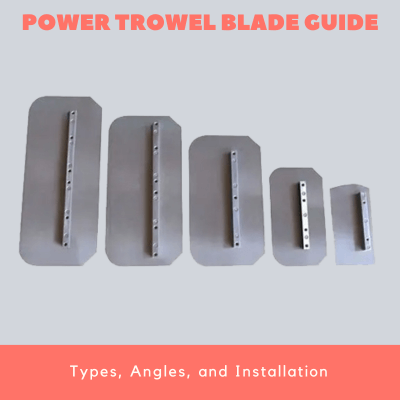
The choice of blade and how it’s set up play a big role in surface quality. Different types of blades are used for specific stages and purposes. Let’s explore it in detail below:
- Float Blades or Pans: At the early stage of finishing, float blades or pans are used. These cover more area and apply less pressure, ideal for gently evening out the slab.
- Finish/ Combo Blades: As the surface stiffens, crews switch to finish blades. These are narrower and sharper, designed to compress and polish the surface.
- Blades Pitch & Angles: The angle, or pitch, of the blades also matters. During the first pass, blades are kept flat to avoid digging in. As the slab hardens, the angle is slowly increased to apply more pressure. Each pass should be firmer than the last. Experienced operators adjust pitch carefully. Starting too steep can cause blade burns or chatter. Gradual changes lead to a more consistent and attractive finish.
Adjusting Timing Based on Conditions

Every slab is different, especially when poured in different climates. So, the weather also affects the troweling time. However, we can divide this into types of weather conditions for more better understanding.
Hot/Dry Conditions
In hot or dry weather, concrete sets quickly. Troweling may need to begin within an hour or two. In these conditions, crews must act fast.
Delays can lead to missed timing, surface crusting, or reduced workability. The drying process can be retarded using shade clothes, fog sprays or evaporation retarders.
Cold/ Wet Conditions
In colder or wetter environments, the process is slower. Troweling might be delayed for several hours. Bleed water takes longer to disappear, and surface firmness takes time to develop.
Contractors sometimes use insulated blankets or ground heaters to speed up curing. If temperatures are near freezing, pouring may need to be rescheduled to avoid long-term slab damage.
Slab Thickness
Thicker slabs are also set slower than thin ones. The heat of hydration escapes more slowly, especially if the ground beneath is cool or moist.
In these cases, patience is essential. Testing the surface every 10 to 15 minutes helps ensure the right moment isn’t missed.
Pro Tips for Spot-On Timing

For spot-on timing, you can use some simple techniques. These may include:
- Walk perimeter before starting- One of the best things a contractor can do is walk the slab’s perimeter before starting.
- The edges usually dry out faster than the middle. Testing only at the edges can give a false sense of readiness.
- Trowel in overlapping passes – Monitoring the entire surface, including the interior, gives a more accurate picture.
- Troweling in overlapping, consistent passes improves quality. Gaps between passes can create ridges or texture changes.
- Monitor slab firmness– Slab firmness should be checked often, especially during weather changes.
- If the blades begin to chatter or bounce, it means the surface may be too stiff. If dark streaks or blade burns appear, pressure needs to be reduced or pitch adjusted.
- Don’t trowel continuously- Spending too much time in one spot can also cause problems. Overworking the surface leads to discolouration, heat buildup, or depressions. A good operator moves steadily and evenly.
- Watch for chatter or blade burn- Listening to the sound of the machine can help, too. A clean, scraping noise usually means the pitch and pressure are right. A high-pitched screech suggests trouble.
Frequently Asked Questions (FAQs)
Can you power the trowel in multiple passes?
Yes, it is possible. As a matter of fact, several passes are usually required to give it a professional touch. A float pan or blade is usually used in the first pass.
Additional passes increment blade pitch and pressure. With each round, the surface becomes tighter. The majority of the slabs require three to five passes, according to the required finish.
What happens if I throw too late?
When the troweling is done late, the surface might already be hard. They will not grip, and instead of smoothing, they chatter or skip.
This causes an uncouth or imperfect finish. You can also observe blade burn or blade discolouration. At this stage, the surface is hard to correct without additional effort or grinding.
How long should you wait before walking on troweled concrete?
Once completed, it is ideal to wait a minimum of 24-48 hours before walking on the slab. This lets the concrete develop early strength.
Await at least 7 days when using heavy loads/equipment or formwork. Curing is completed after 28 days, however, light traffic is usually okay after 2 days.
Do different finishes (broom vs smooth) affect timing?
The answer is yes. A broom finish needs little or no troweling. Before the surface becomes too hard you must work on it to get texture.
In smooth finishes, timing is more important. Troweling should be done at the most appropriate time in order to achieve a polished surface and not to overwork the slab.
Can you power trowel coloured or stamped concrete?
Yes, with additional caution. Otherwise, coloured concrete may turn blotchy or dark when troweled vigorously.
Before stamping starts, stamped concrete ought to be completed lightly. Excessive troweling can snuff out the designs or colour hardeners. Always decorative concrete product guidelines.
Conclusion

Understanding when to power trowel concrete is one of the most important steps. It helps in delivering a professional-grade slab. Timing affects everything from appearance to long-term durability.
Since no two jobs are the same, contractors must rely on practical tests. Weather, mix design, and site conditions all play a role in finding the right moment.
With the right timing, technique, and blade setup, you can ensure every slab turns out smooth, strong, and ready for years of use.


Leave A Comment