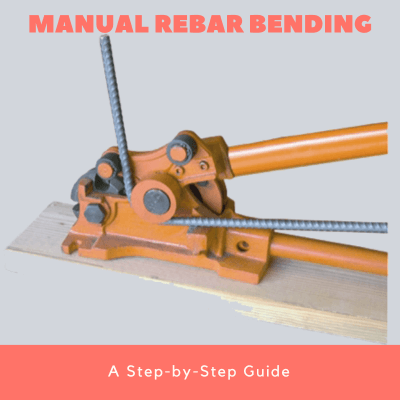
DIY Manual Rebar Bender: How to Build Your Own in 6 Easy Steps
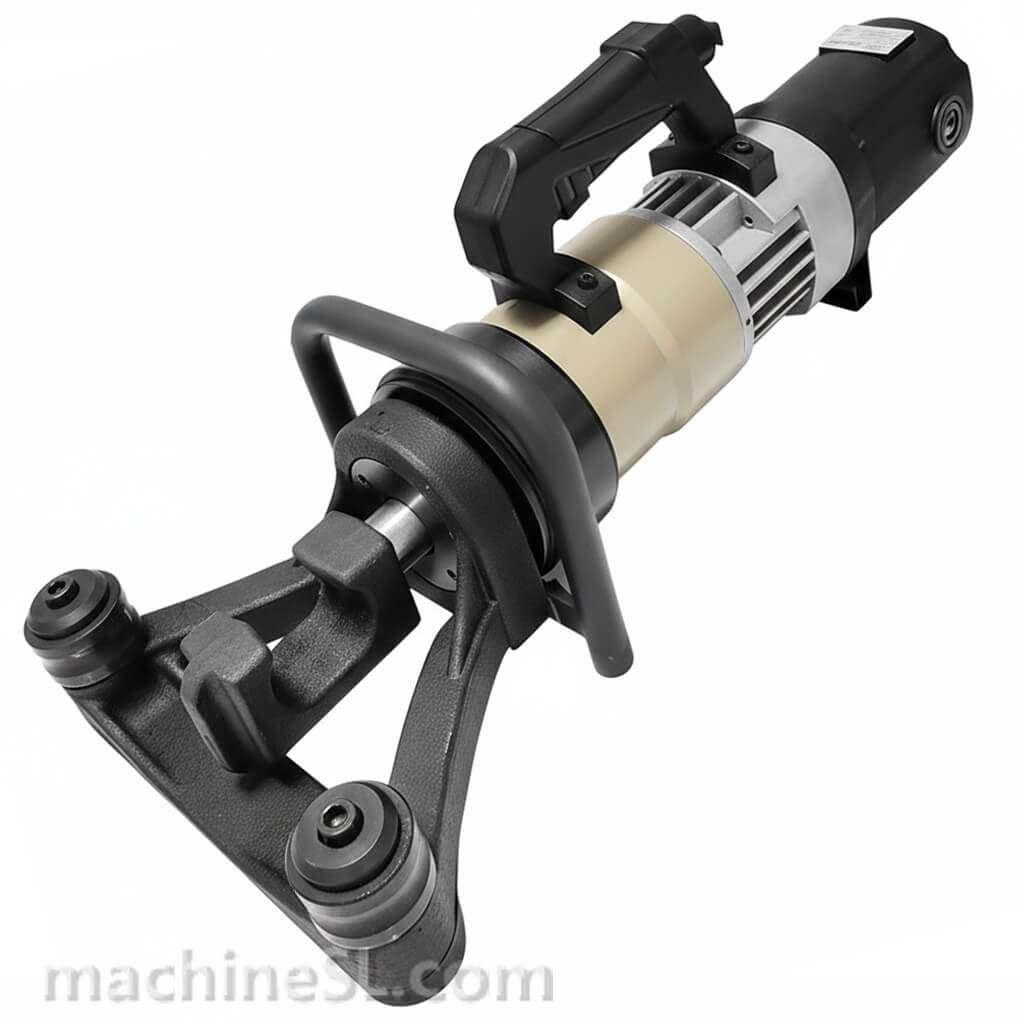
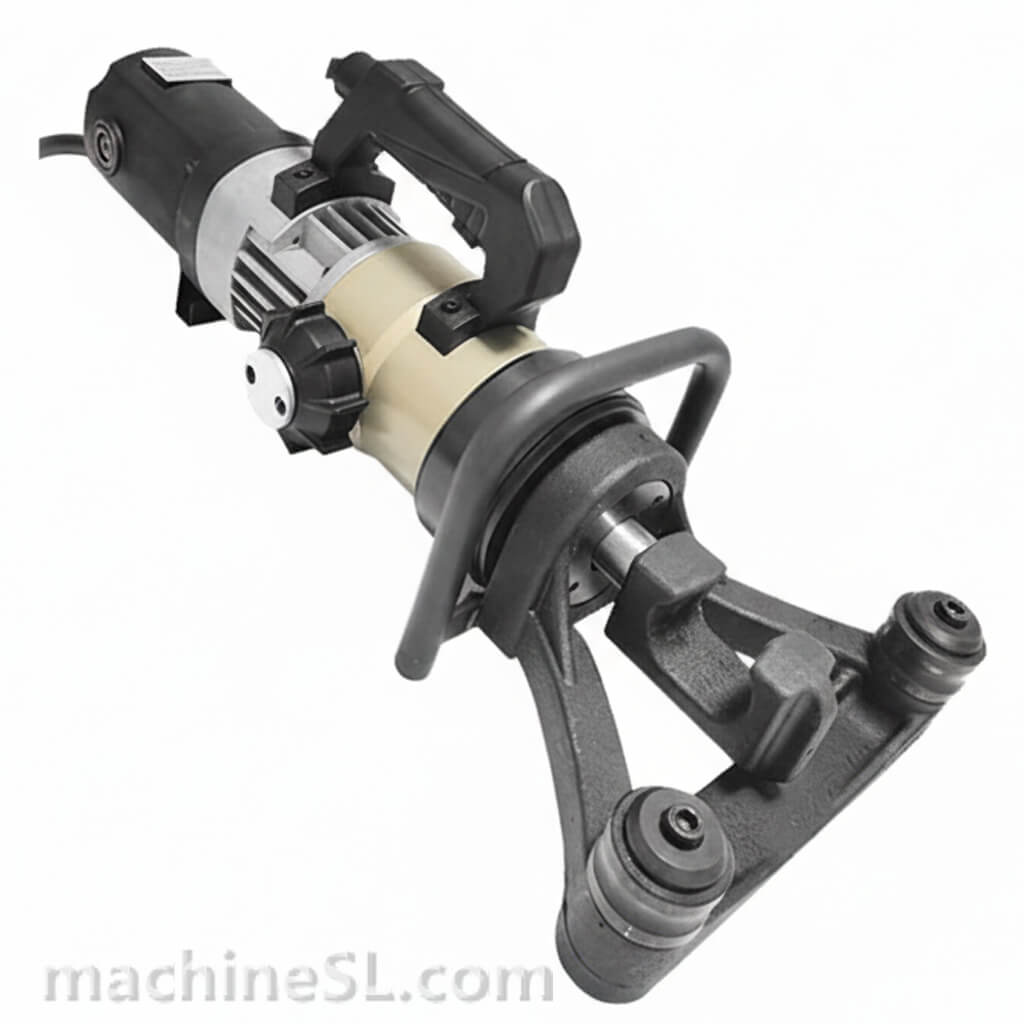
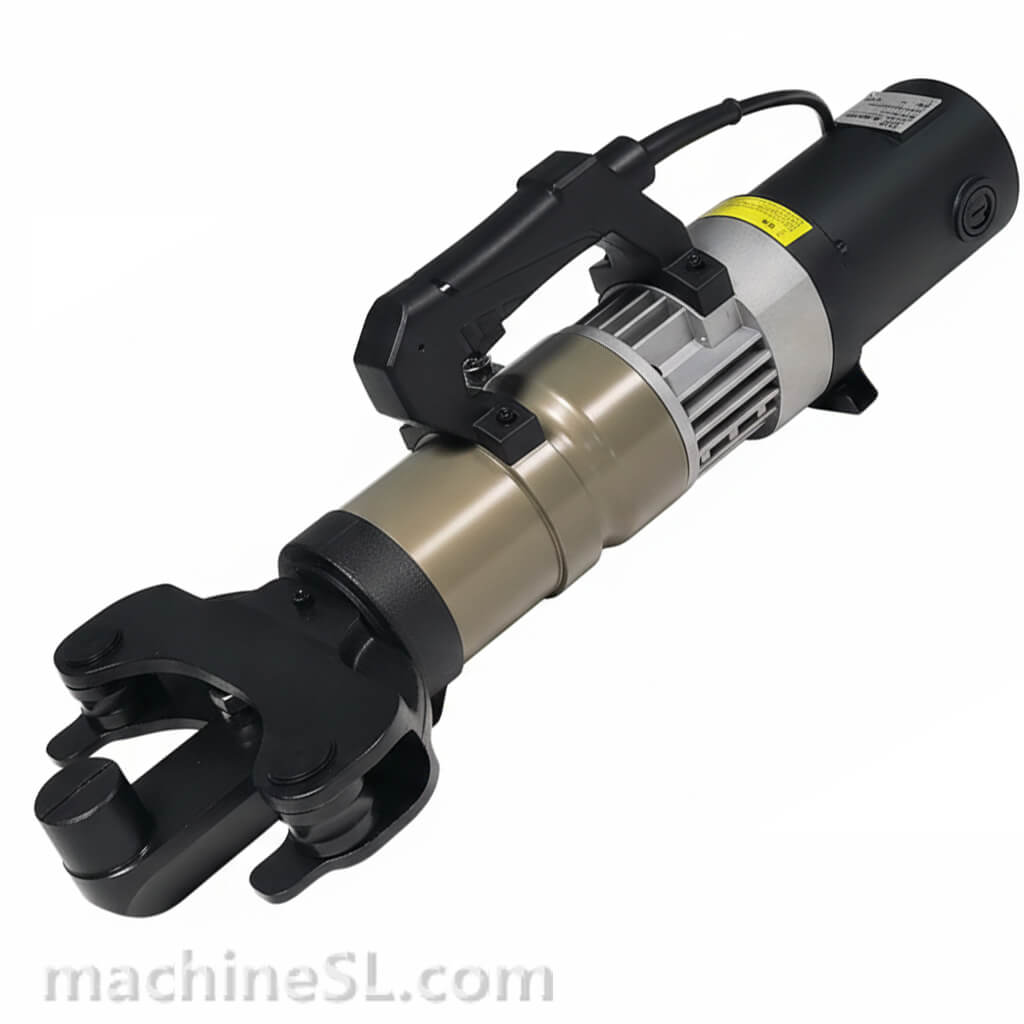
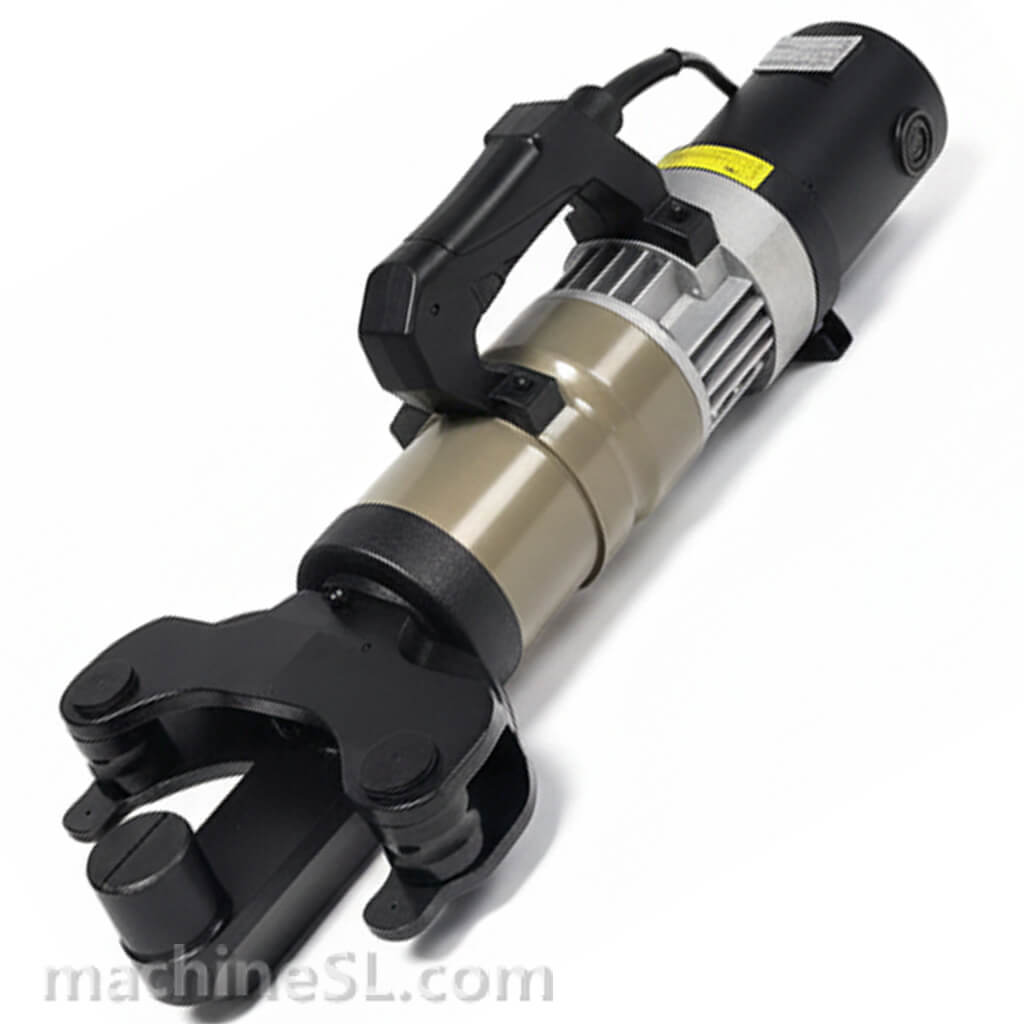
Rebar benders are machines or tools used in construction to bend steel reinforcing bars, also known as rebars, into specific shapes and sizes. These rebars are used to provide added strength and stability to concrete structures, such as buildings, bridges, and highways.
The importance of having a rebar bender cannot be overstated, as it improves efficiency, precision, safety, cost savings, and durability in the construction industry.
Manual rebar benders are still made and used in the construction industry for several reasons:
Affordability: Manual rebar benders are often less expensive than electric or hydraulic benders, making them a more affordable option for smaller construction companies or DIY projects.
Portability: Manual rebar benders are often smaller and lighter than their electric or hydraulic counterparts, making them easier to transport and move around a job site.
Simplicity: Manual rebar benders are simple to operate, requiring no electricity or hydraulics, which can be an advantage in remote or off-grid locations where power may not be available.
Flexibility: Manual rebar benders can bend rebars of different sizes and shapes, giving workers more flexibility in their projects. They can also bend rebars in small increments, allowing for precise adjustments in the rebar’s shape.
Durability: Manual rebar benders are often made of high-quality materials, making them durable and able to withstand heavy use in construction sites.


Contents
Materials Needed
Making a rebar bender at home requires some materials and tools. Here are the materials and tools you will need:
Materials
- Steel plate, 1/4 inch thick or thicker
- Steel angle, 1 inch x 1 inch or larger
- Steel pipe, 2 inches in diameter or larger
- Bolts, nuts, and washers
- Welding materials (if you plan to weld the parts together)
Tools
- Metal cutting saw (such as a circular saw or reciprocating saw)
- Drill and drill bits
- Angle grinder
- Welding machine (if you plan to weld the parts together)
- Wrenches and pliers
- Tape measure and marker
Designing the Rebar Bender
Designing a rebar bender involves several considerations, including the type and size of rebar to be bent, the required bend angle and radius, and the capacity and features of the bender. Here are the steps to follow when designing a rebar bender:
- Determine the type and size of rebar to be bent: Different rebar benders are designed for different sizes and types of rebars. Determine the size and type of rebar that you will be bending most frequently.
- Determine the required bend angle and radius: The bend angle and radius determine the shape of the bent rebar. Consider the specifications of your project and determine the required bend angle and radius.
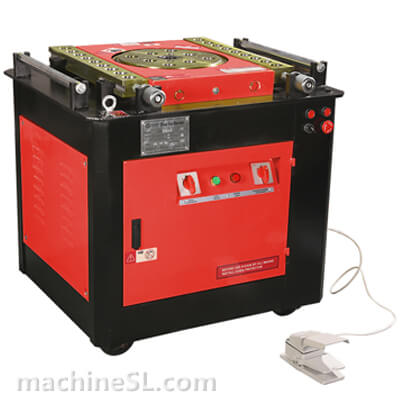
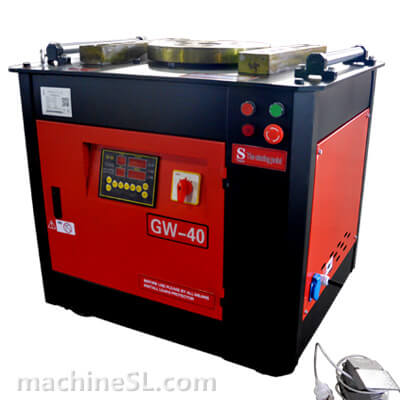
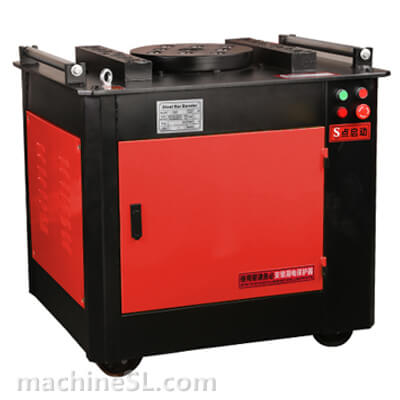
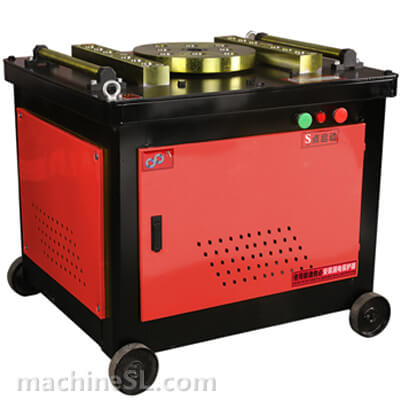
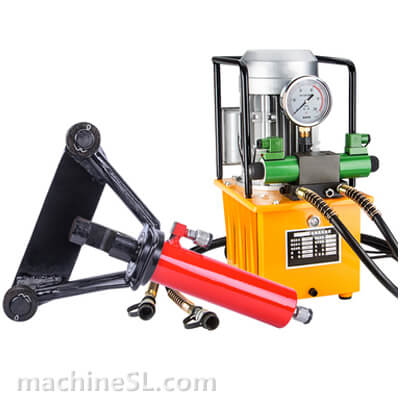
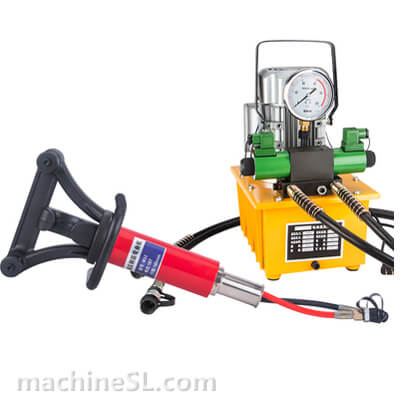
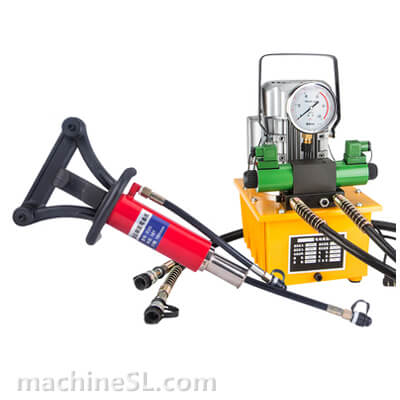
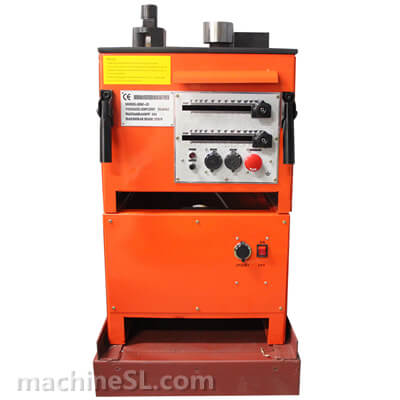
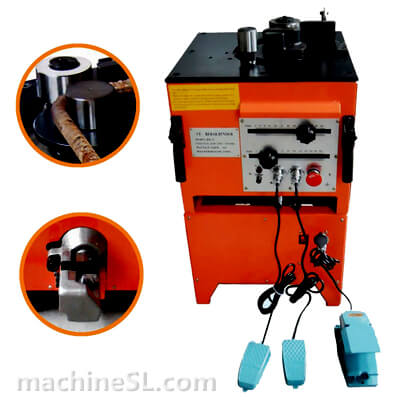
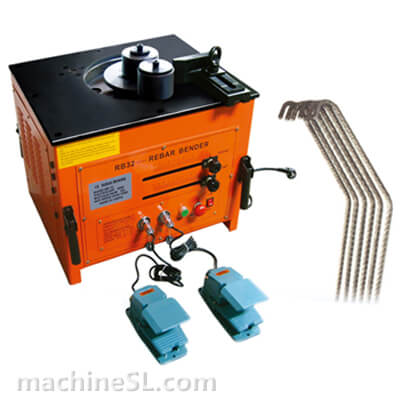
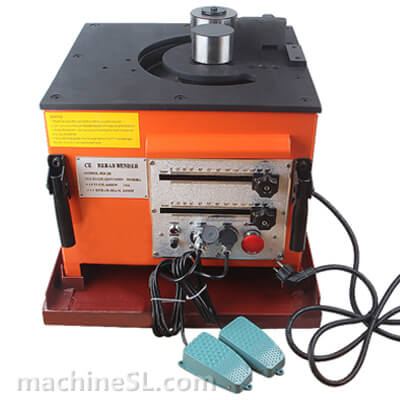
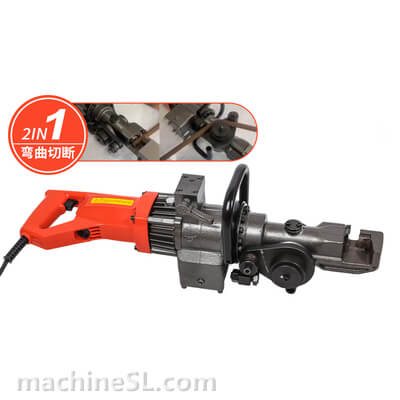
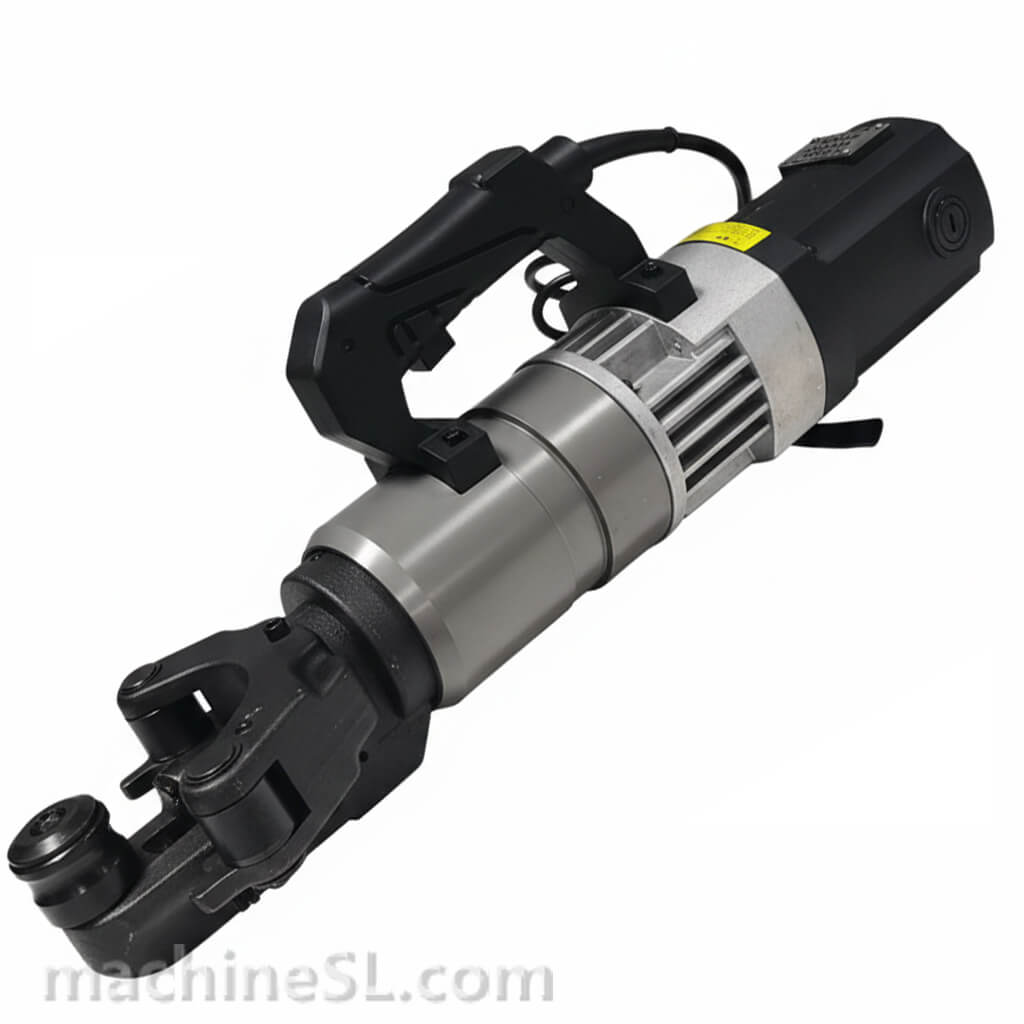
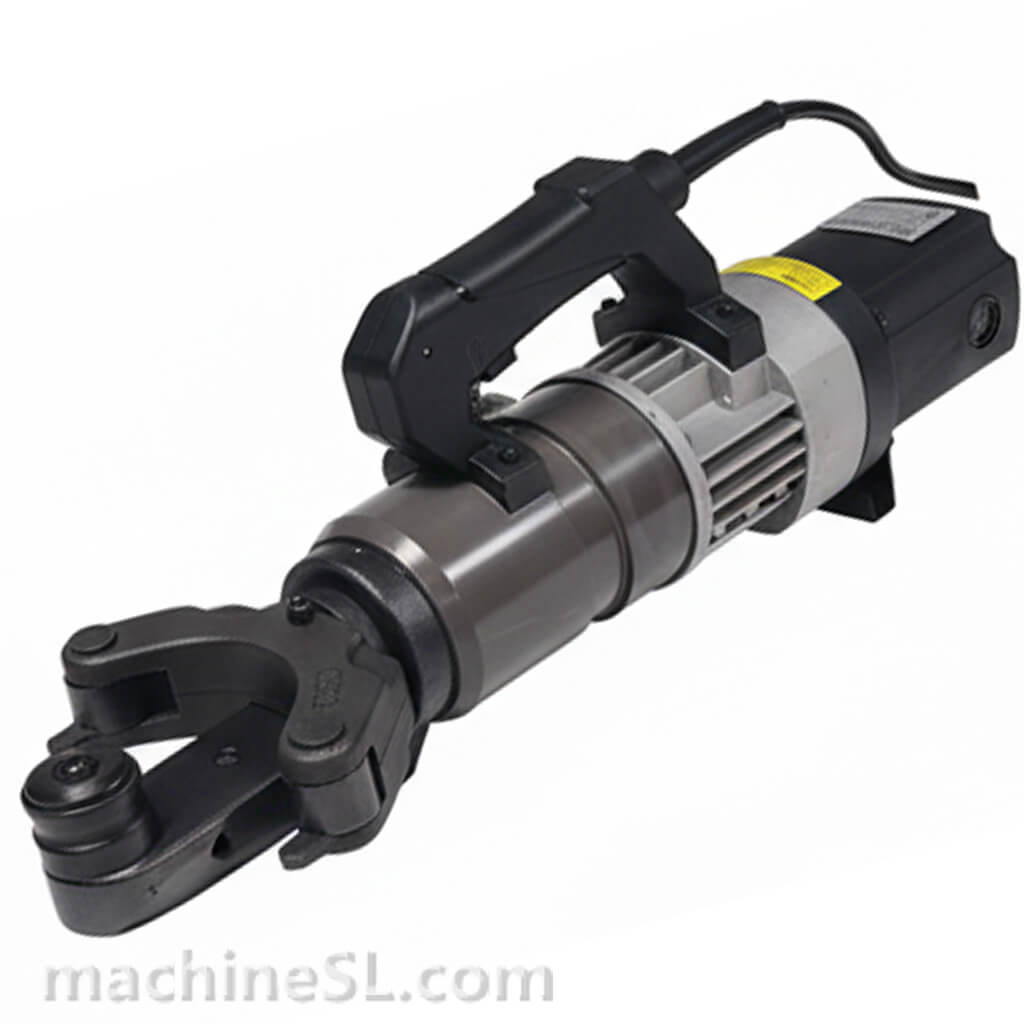
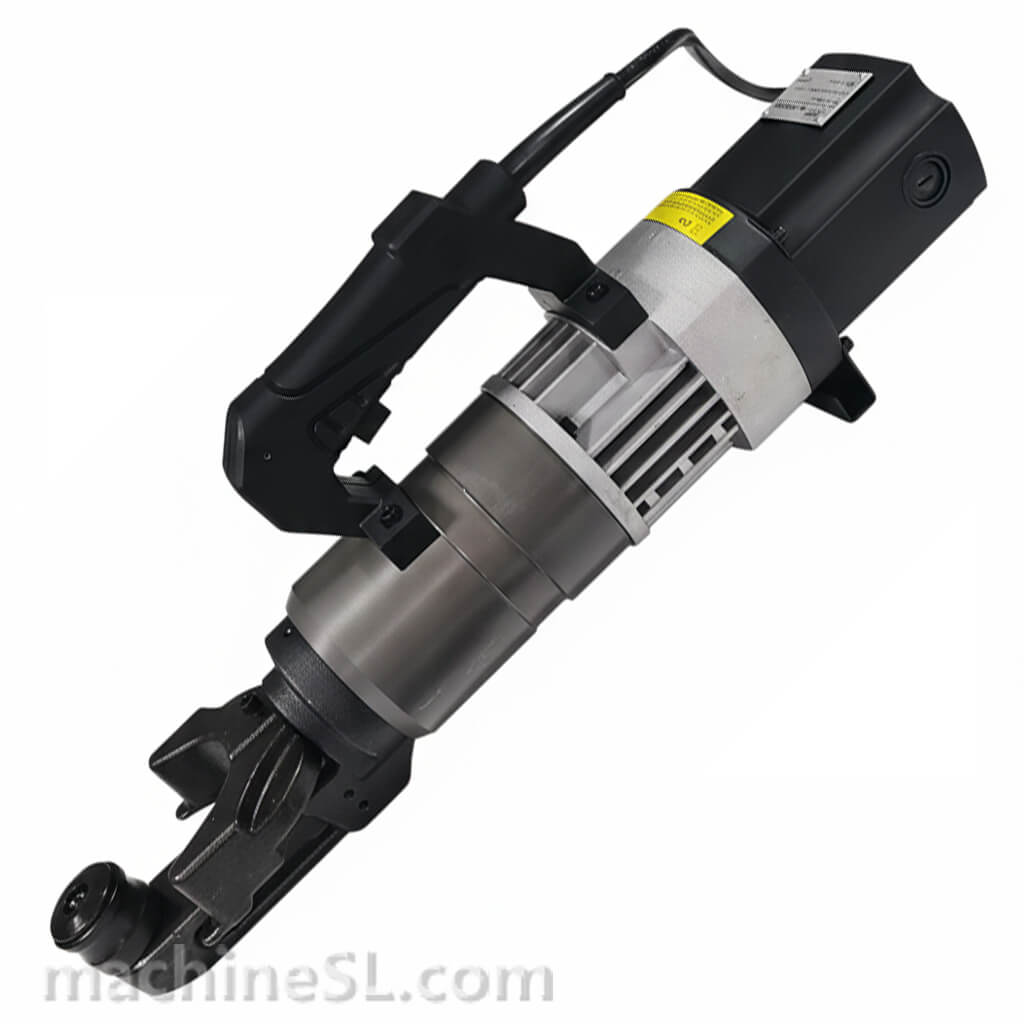
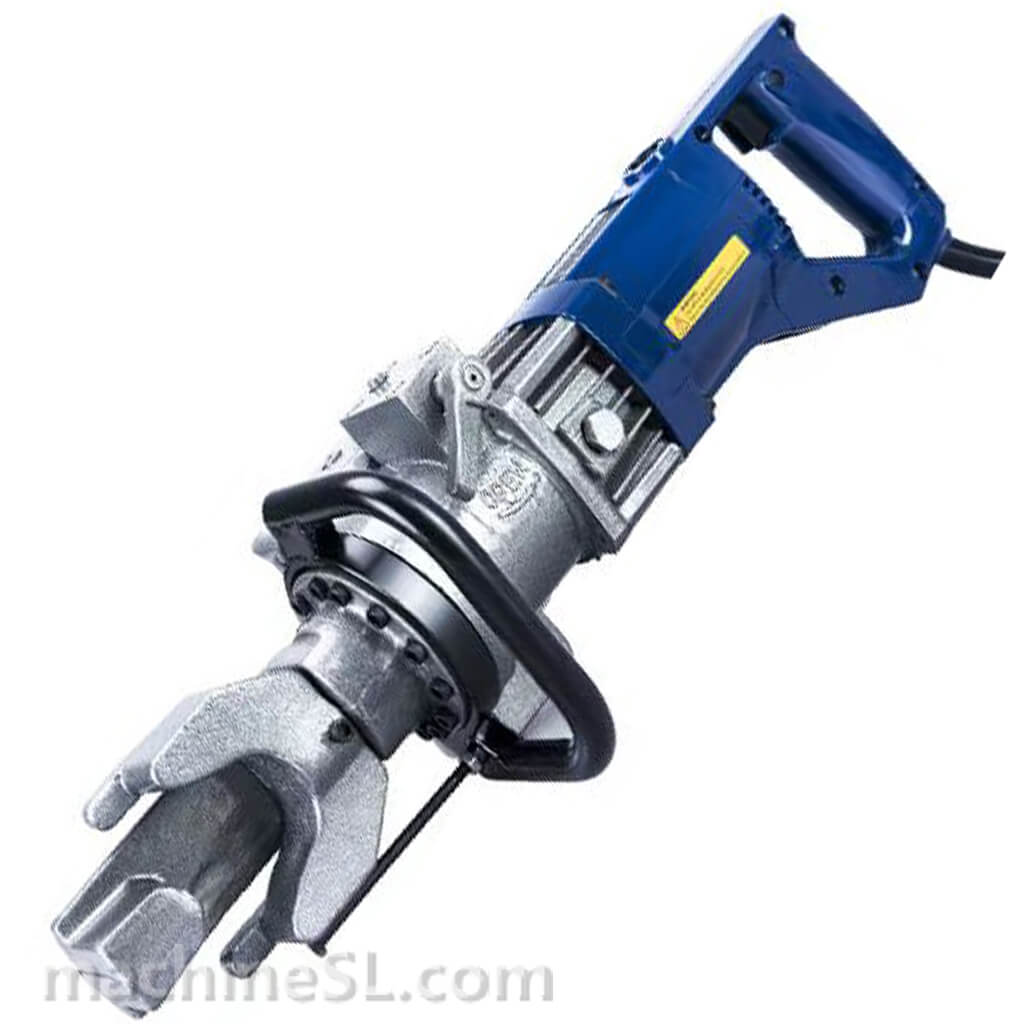
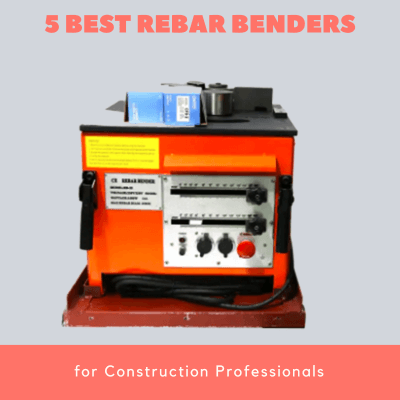
- Choose the type of bender: There are different types of rebar benders, including manual, electric, and hydraulic. Choose the type that best suits your needs and budget.
- Choose the capacity of the bender: The capacity of the bender is the maximum size and number of rebars that it can bend. Choose a bender with a capacity that can handle your most common bending needs.
- Consider the features of the bender: Some benders come with features such as digital controls, adjustable bending angles, and foot pedals. Consider which features would be most useful for your projects.
- Sketch the design: Sketch out the design of your rebar bender, including the dimensions, materials, and features. This will help you visualize the final product and make adjustments as necessary.
- Build a prototype: Once you have a design, build a prototype to test its functionality and make any necessary adjustments.
Please note that designing a rebar bender can be a complex task, and it is recommended that you consult with a professional engineer or experienced metalworker before attempting to build a bender on your own.
Building the Rebar Bender
- Cut the steel plate and angle to the desired lengths using a metal cutting saw.
- Drill holes in the steel plate and angle as necessary to attach them together with bolts, nuts, and washers.
- Cut a piece of steel pipe to the desired length using a metal cutting saw.
- Weld the steel pipe to the steel plate to form the bending arm.
- Attach the steel angle to the bending arm using bolts, nuts, and washers to form the bending lever.
- Use an angle grinder to shape the end of the bending lever to the desired shape for bending rebar.
Please note that building a rebar bender at home can be a challenging and potentially dangerous task. Working with metal can be dangerous, and it is important to use proper safety equipment, such as gloves, safety glasses, and ear protection. Failure to use safety equipment can result in serious injury. It is recommended that you have experience in metalworking and welding before attempting this project.
Make sure that the materials you choose are appropriate for the size and type of rebar you will be bending, as well as for the stresses and forces that the bender will be subjected to. Using inadequate materials can result in a weak and unsafe bender.
Accurate measurements are also essential for ensuring that your bender is functional and produces precise bends. Failing to take accurate measurements can result in a bender that is inaccurate and unusable.
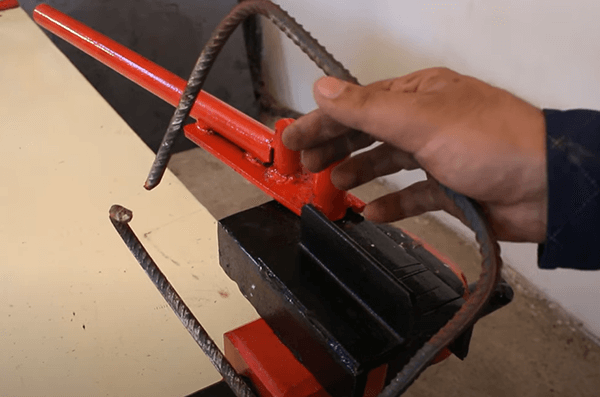
Using the Rebar Bender
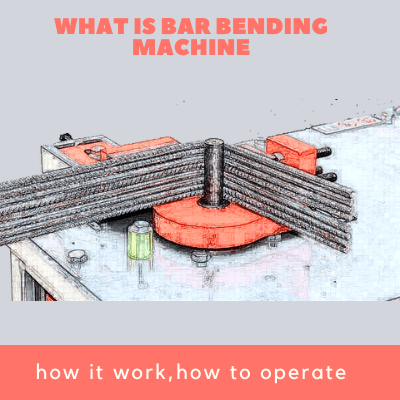
Using a rebar bender involves several steps to ensure that the rebars are bent accurately and safely. Here are the general steps to follow when using a rebar bender:
Set up the bender: Place the bender on a stable surface, such as a workbench or concrete floor, and ensure that it is securely anchored.
Adjust the bender: If your bender has adjustable features such as bending angle or radius, adjust them to the desired specifications.
Place the rebar in the bender: Position the rebar in the bender according to the instructions provided by the manufacturer. The rebar should be positioned so that the section to be bent is in the bending area of the bender.
Secure the rebar: Use clamps or other methods to secure the rebar in place before beginning the bending process. This will ensure that the rebar does not move during bending and result in inaccurate or uneven bends.
Begin bending: Use the bender to apply pressure to the rebar and begin bending it to the desired angle or radius. Follow the instructions provided by the manufacturer carefully to ensure that you are using the bender correctly.
Check the bend: After the bend is complete, carefully inspect it to ensure that it meets the desired specifications. If the bend is inaccurate or uneven, you may need to reposition the rebar and try again.
Repeat the process: If you need to bend multiple sections of rebar, repeat the process for each one.
Clean up: After you are finished using the bender, clean it thoroughly and store it in a safe and secure location.
It is important to always follow the manufacturer’s instructions when using a rebar bender to ensure safe and accurate bends. Additionally, always wear appropriate safety equipment, such as gloves, safety glasses, and ear protection, when working with rebar and a rebar bender.
Conclusions
To make a rebar bender at home, you will need materials such as steel pipes and metal sheets, and tools such as an angle grinder, drill, and welding equipment. The process involves cutting the steel pipes to size and welding them together to form the frame, cutting the metal sheet to size for the bending area, and attaching it to the frame using bolts. A handle is also created using a steel pipe, and the finished product is tested for functionality and safety. It is important to use appropriate safety equipment and follow manufacturer instructions when using the rebar bender.
Making a manual rebar bender at home can be cost-effective and allows for customization to meet specific bending needs. Additionally, it can be a rewarding DIY project for those interested in metalworking.
If you are interested in metalworking or DIY projects, making a rebar bender at home can be a fun and rewarding experience. Not only can you save money compared to purchasing a pre-made bender, but you can also customize it to your specific needs.


Leave A Comment